
 511
511
Benefits Passes are newly introduced to allow employees to visit designated providers for specific services, such as the Typhoid Vaccine.
The statuses Not Started, Started, and Completed are displayed by default.
| Status | Description |
| Not Started | The Start Date has not yet been reached. Employees cannot utilise the assigned Benefits Pass yet. |
| Started | The Benefits Pass is within its validity period and is currently usable. |
| Completed | The Benefits Pass has been successfully utilised or redeemed, and corresponding transactions have been recorded. Click the transaction number to view the transaction details page. |
| Cancelled |
The Benefits Pass has been cancelled and is no longer visible or usable by employees. A new Benefits Pass must be assigned if needed. |
| Expired | The End Date has passed. The Benefits Pass is no longer visible or usable by employees. A new Benefits Pass must be assigned if needed. |
For a quick guide, please refer to this: Benefits Passes Quick Guide
Step 1: To assign new Benefits Pass(es) to employee(s), navigate to Benefits > Benefits Passes > Actions > Assign Benefits Passes


Step 2: Search and select the employee(s) to assign the Benefits Pass.
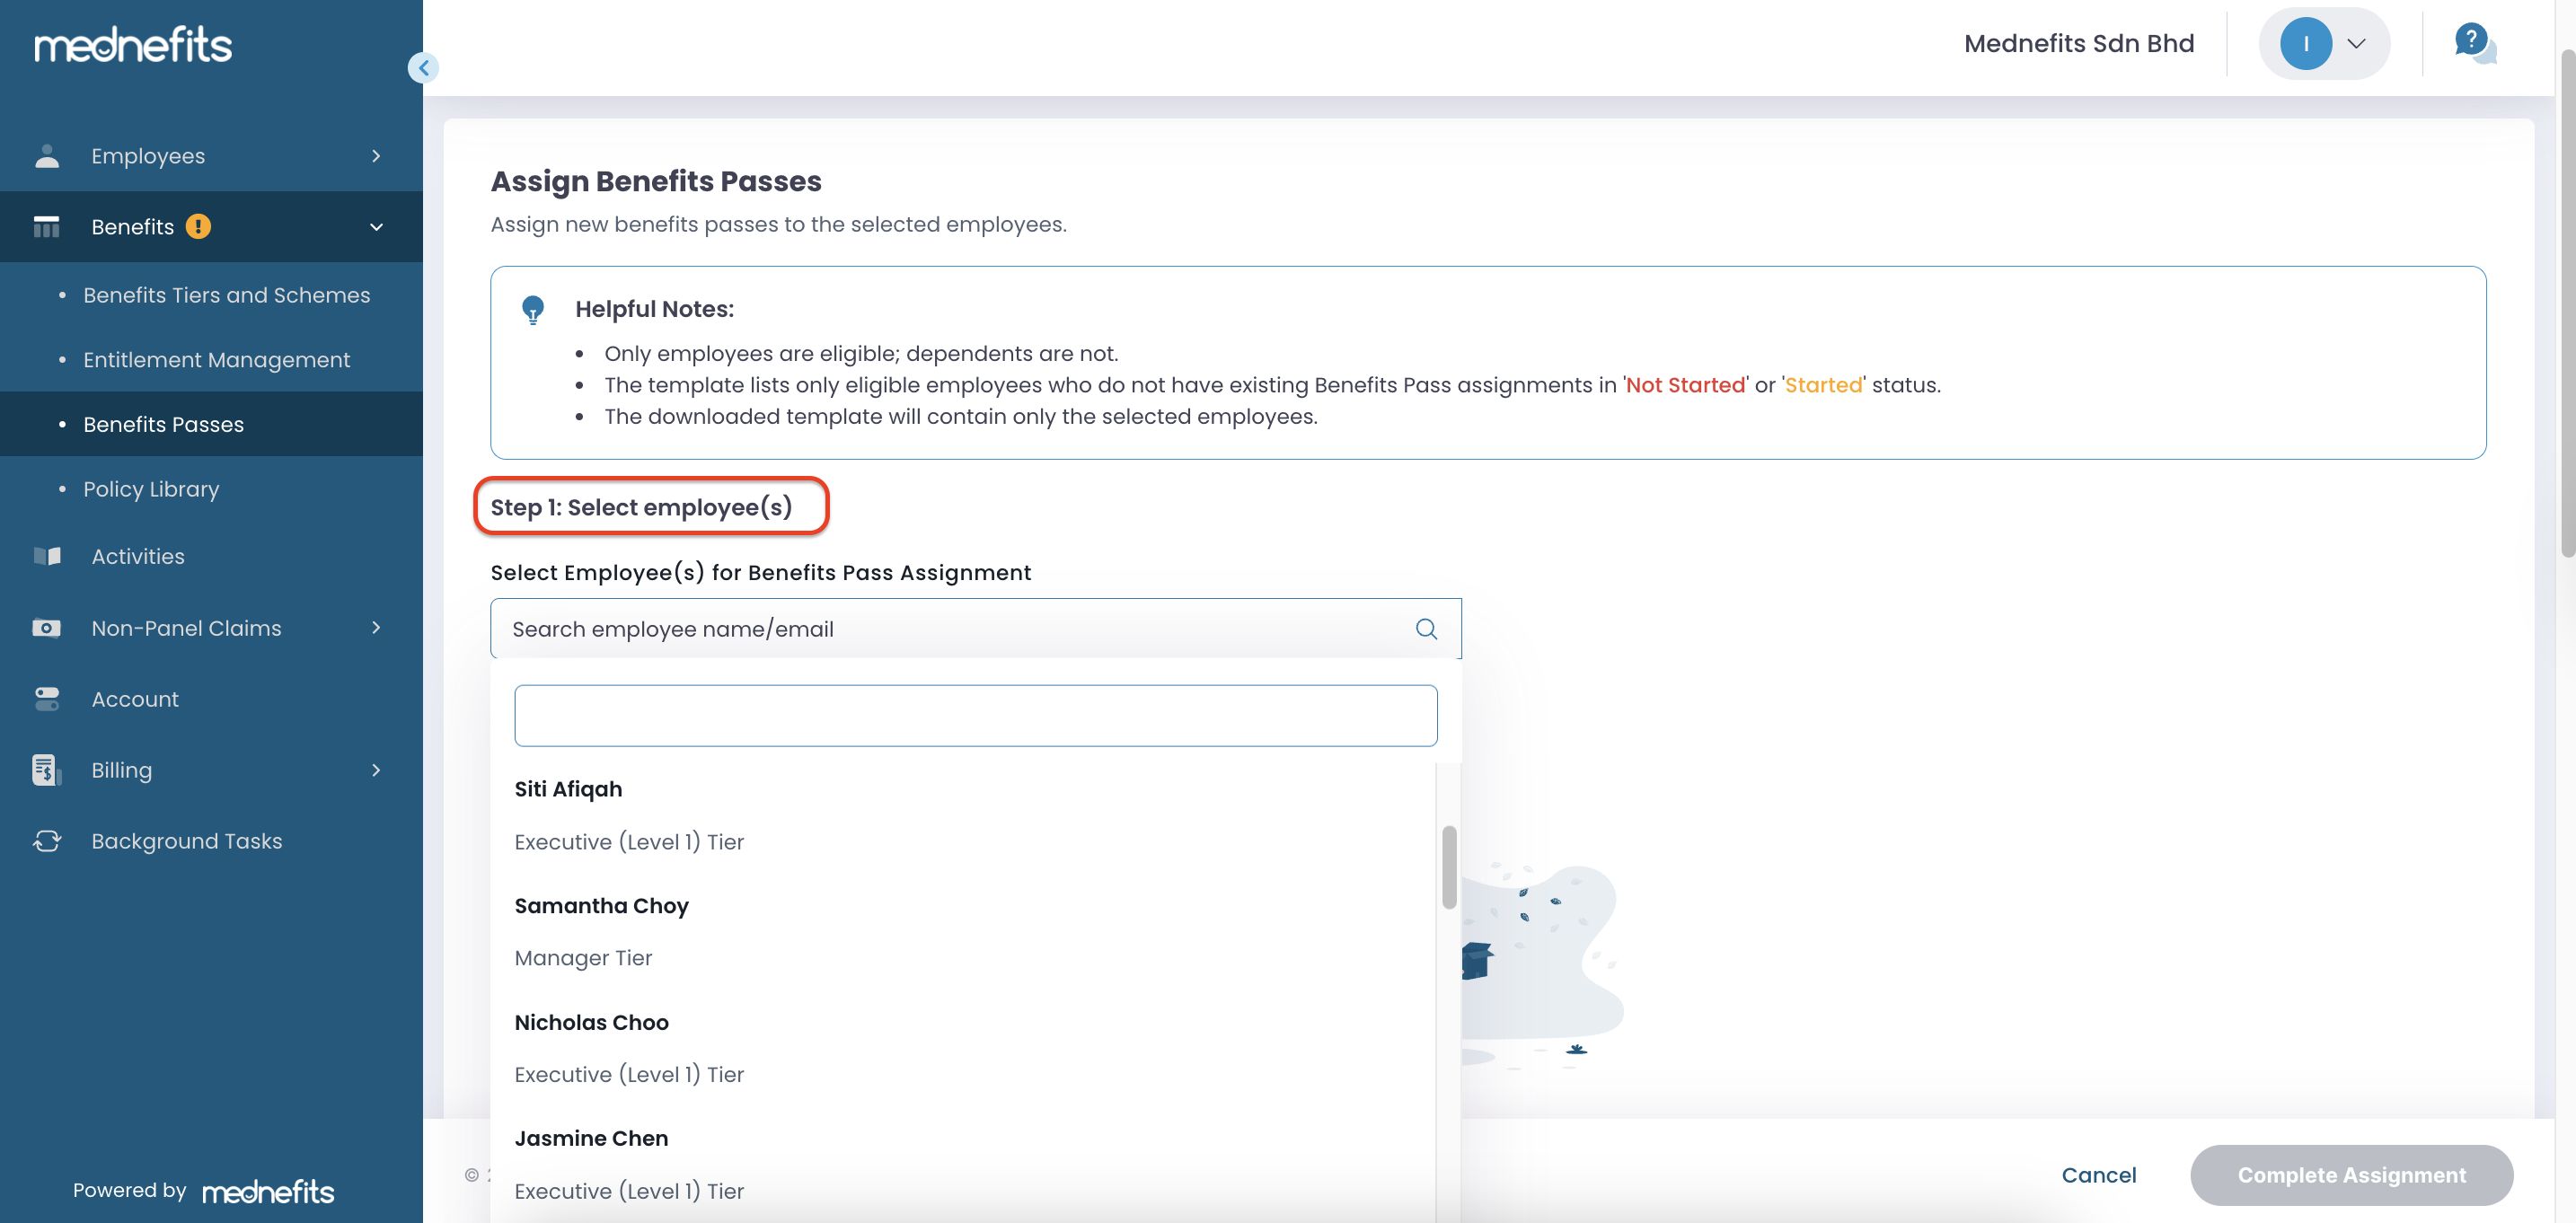
Notes: Only employee(s) meeting the following criteria are eligible for selection:
- Have active GP schemes.
- Do not have existing Benefits Pass assignments in 'Not Started' or 'Started' status in the Overview table.
- Previously completed their assigned Benefits Pass, with a completion date earlier than today
Step 3: Download Benefits Pass template and fill in.
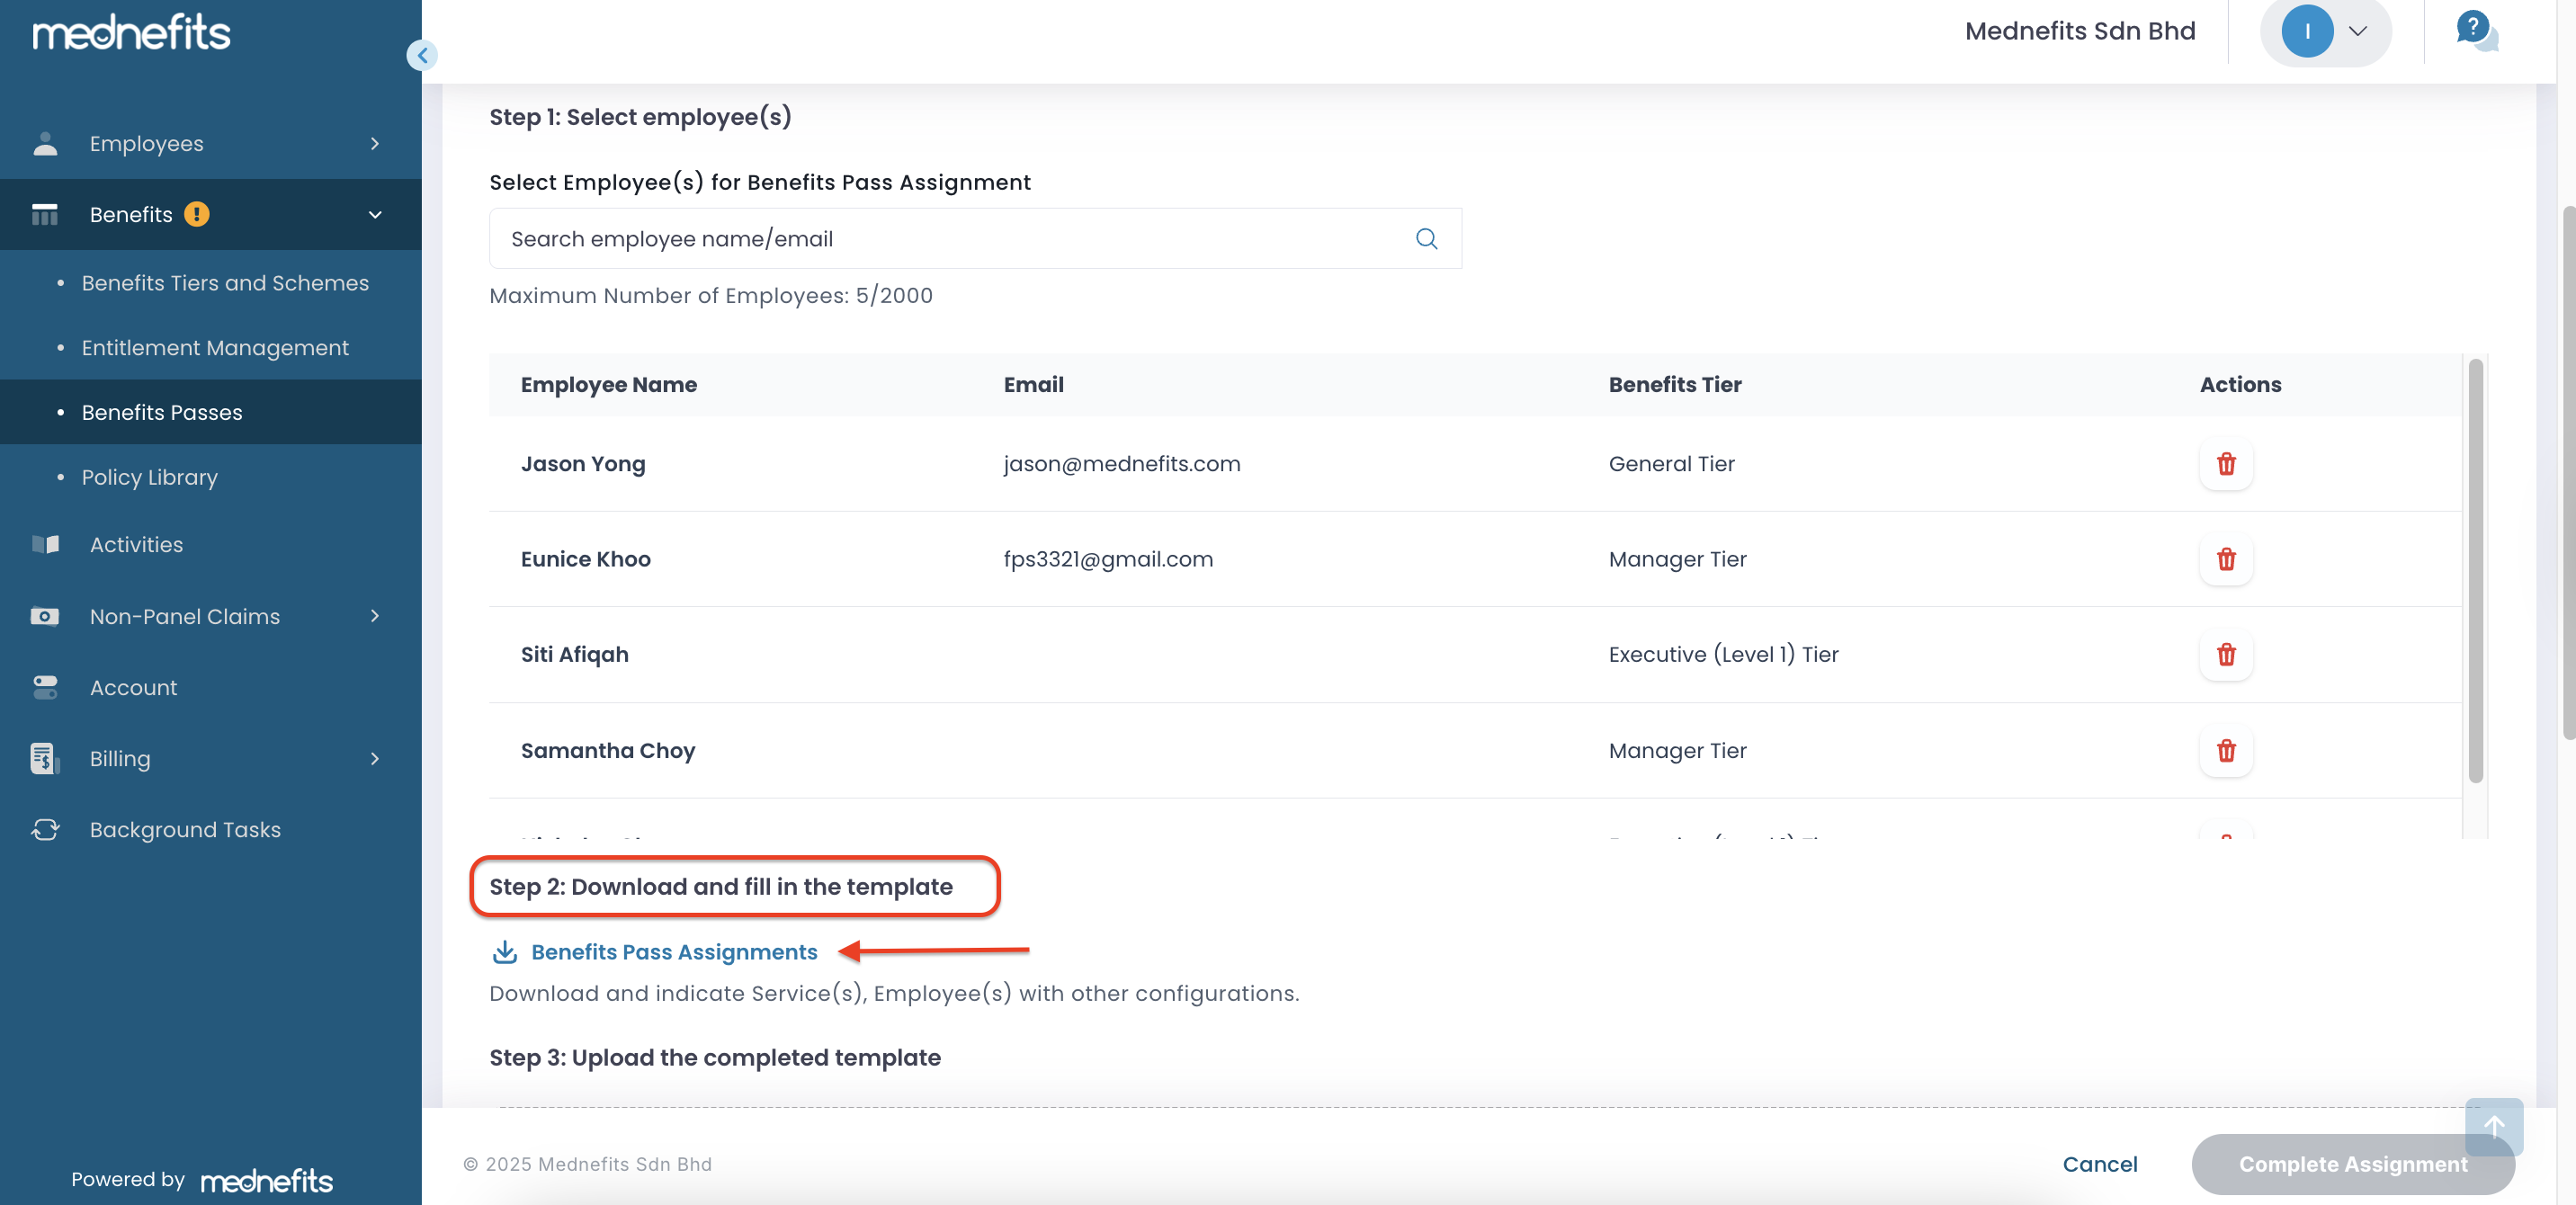
Notes: Navigate to the Typhoid Vaccine Passes sheet to specify the provider(s) and other configurations. HR/admin is required to complete the following fields:
-
Provider ID: Refer to the Typhoid Providers sheet. Only ONE Provider ID should be inputted.
-
Provider Name (optional): Refer to the Typhoid Providers sheet.
-
Benefits Pass Start Date: dd/mm/yyyy.
-
Benefits Pass End Date: dd/mm/yyyy. Leave blank if there is no End Date.
-
Remarks (optional): Free text field. If inputted, the remarks will appear under the Information section on the Benefits Pass Details page in both the Member App and Member Portal.
-
Taken Typhoid within the last 3 years?: Indicate Y for Yes and N for No.
-
Pregnant?: Indicate Y for Yes and N for No.

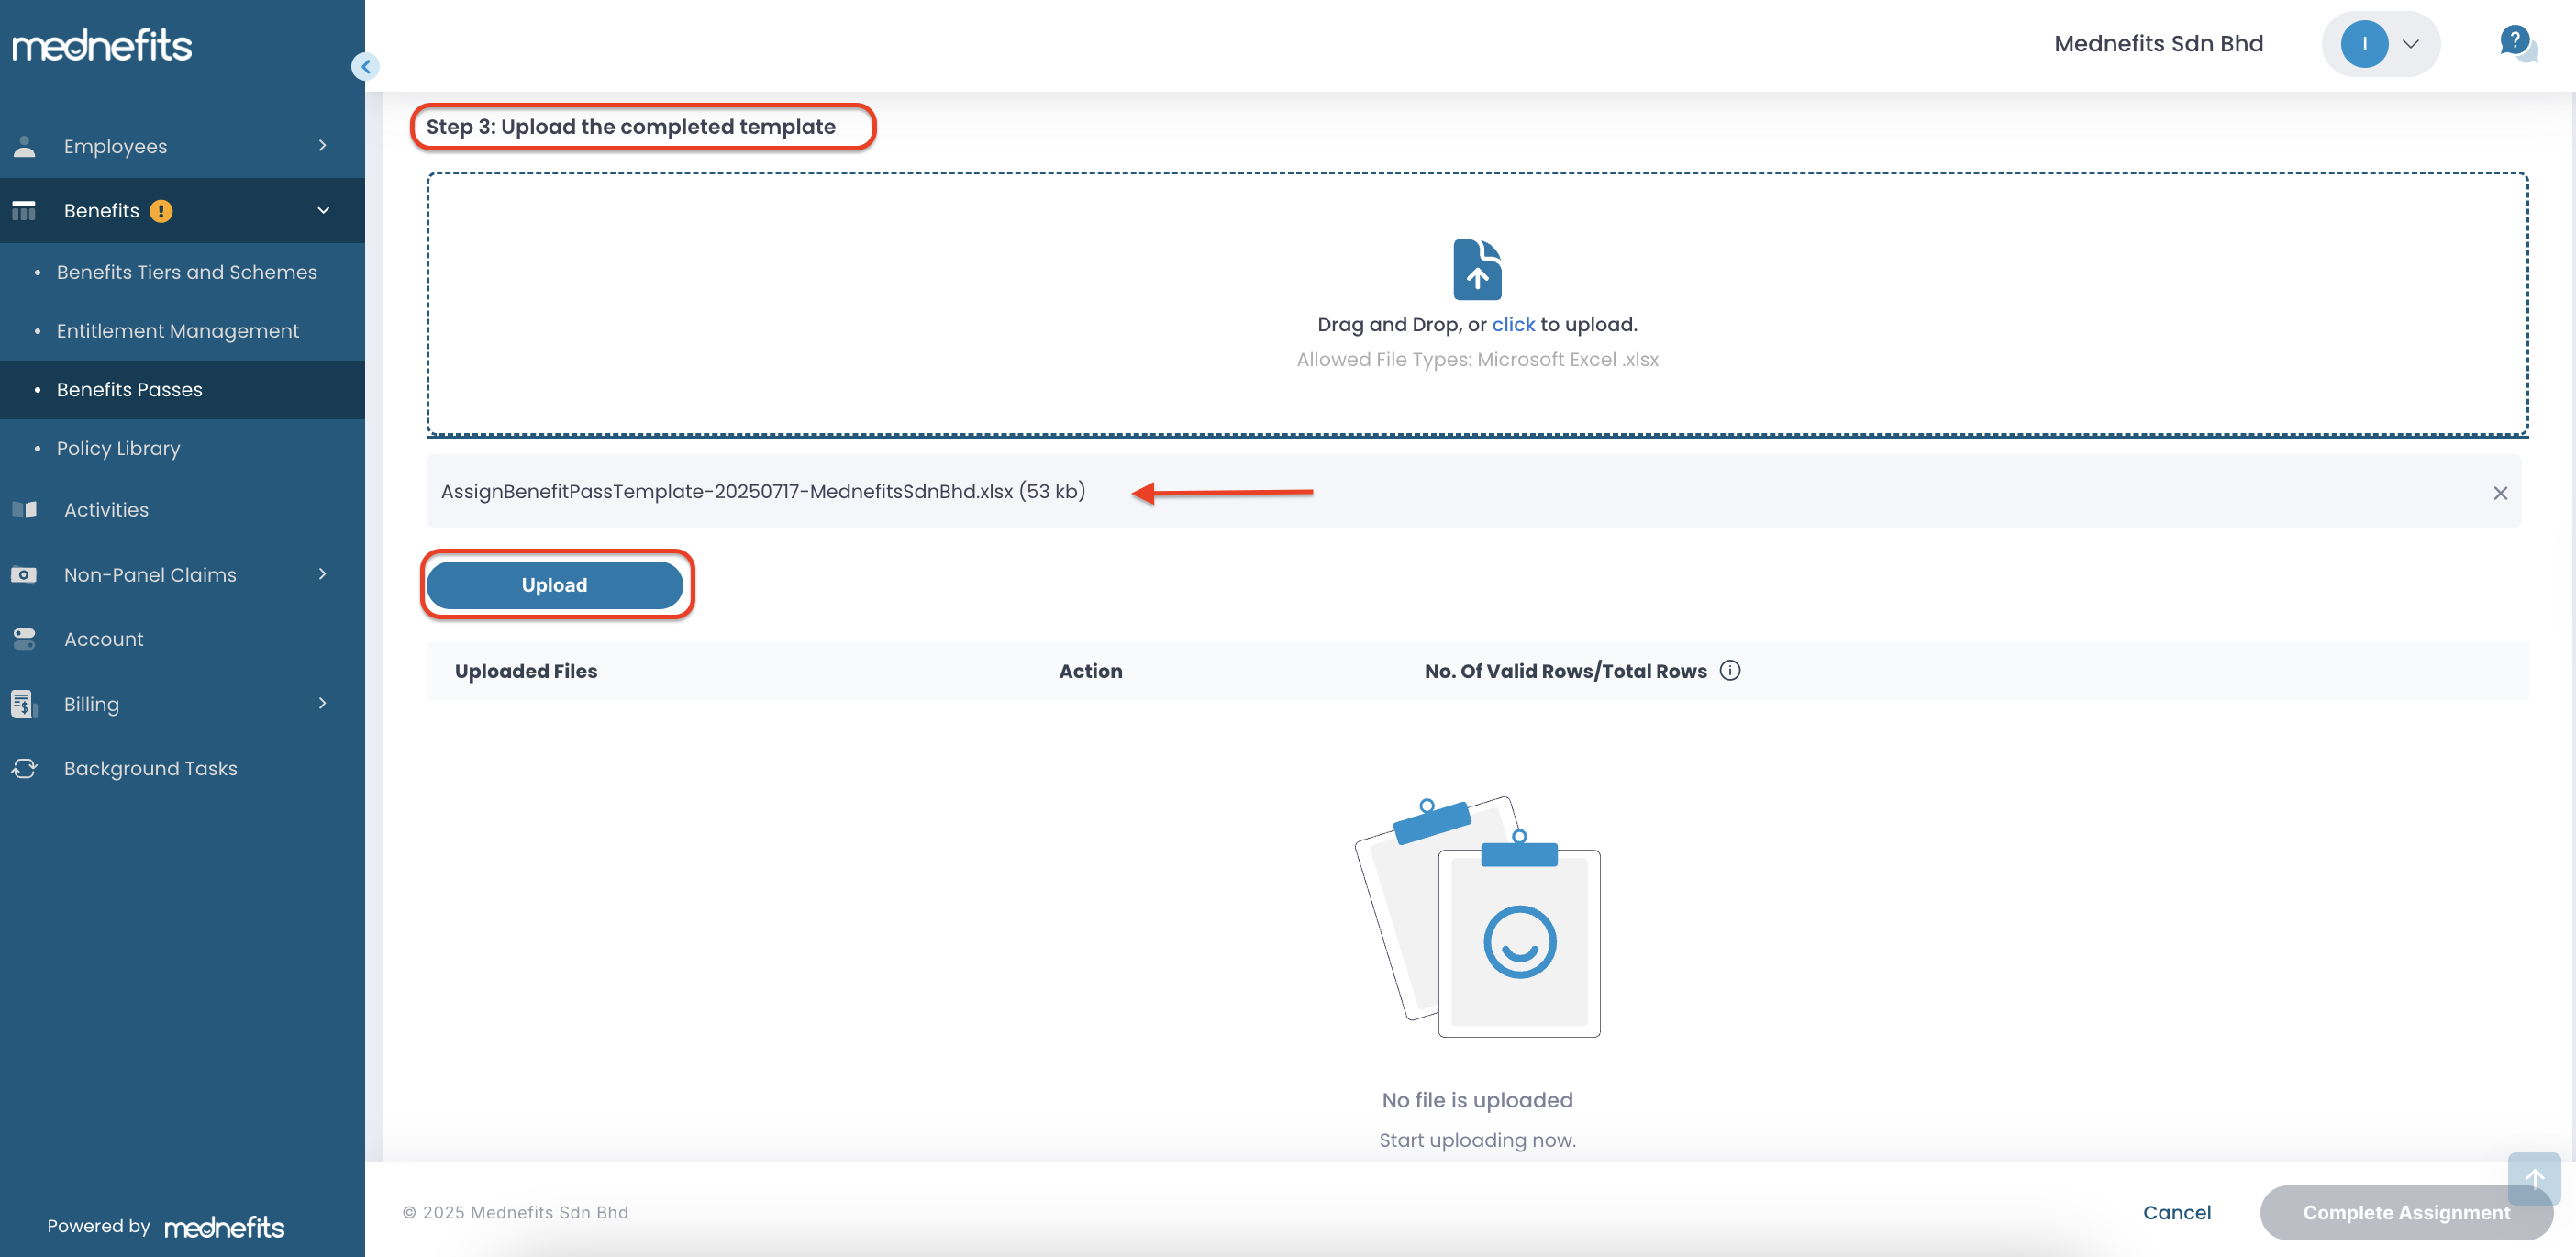
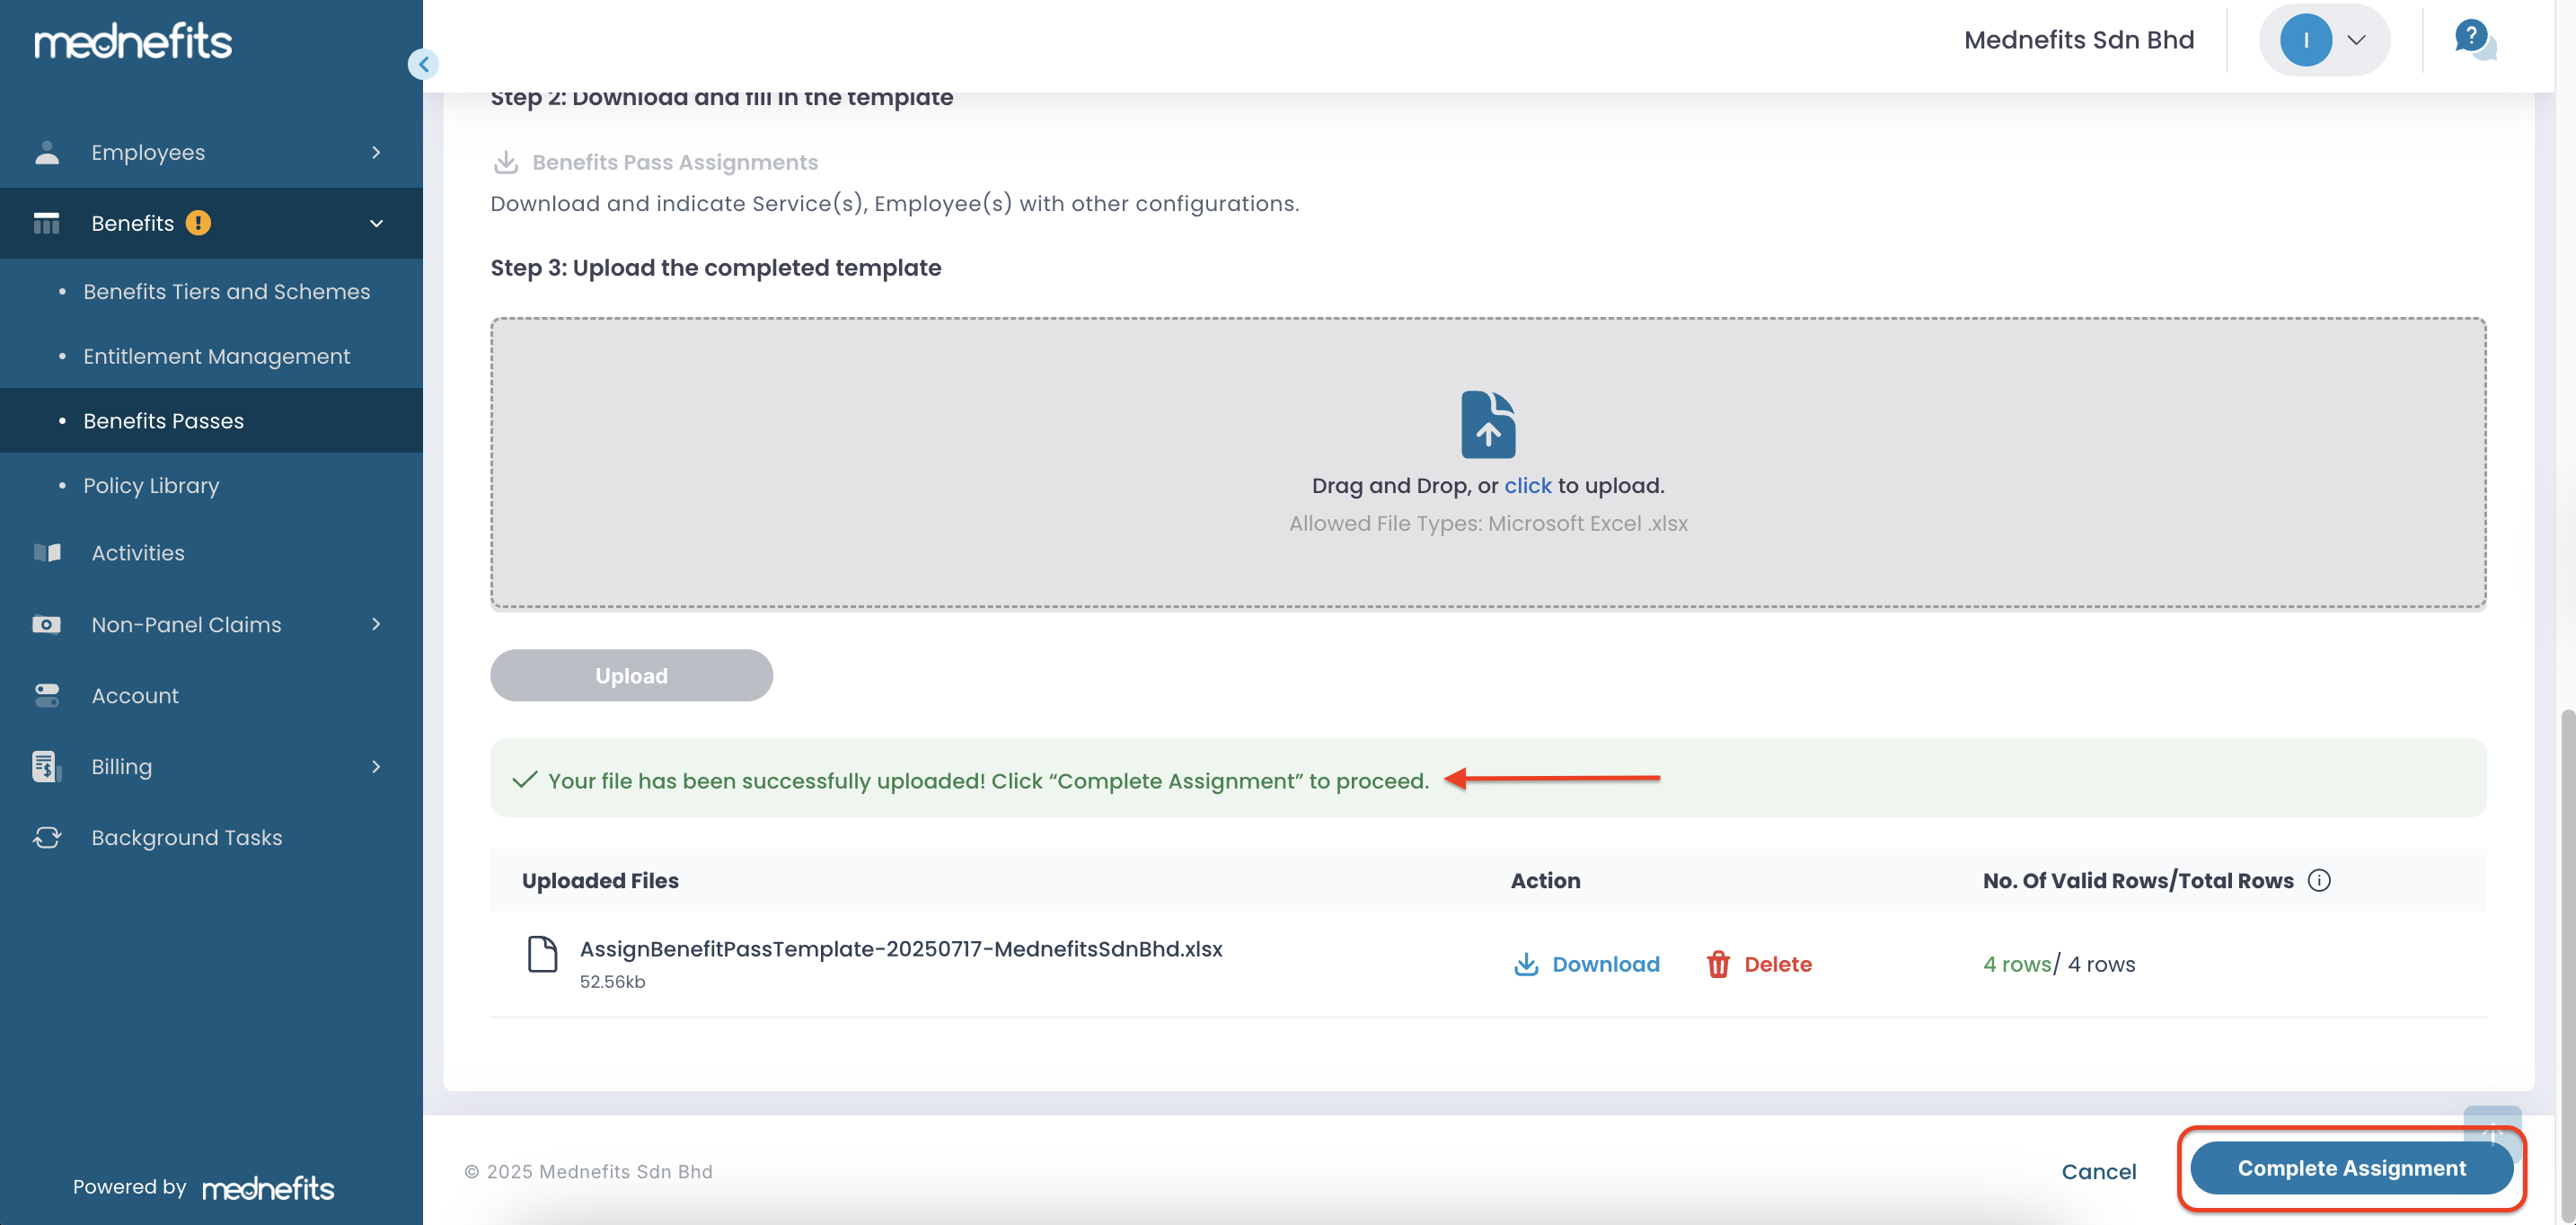
Step 4: Upload the completed template.
Once the template is completed, proceed with the upload. If the file contains no errors, proceed with completing the assignment.
❗ Error! Unable to proceed (if any)

Possible Errors:
-
Unmatched Entry (Provider ID): The Provider ID does not match any ID in the Typhoid Providers sheet.
-
Invalid Format (Benefits Pass Start Date / End Date): Date format does not follow dd/mm/yyyy.
-
Invalid Format (Taken Typhoid within 3 years? / Pregnant?): Input is not Y or N.
-
Invalid Entry (Benefits Pass End Date): End Date is earlier than the Start Date.
-
Empty Entry (Benefits Pass Start Date / Taken Typhoid within 3 years? / Pregnant?): Provider ID is entered, but required fields are left blank.
Step 5: After the upload, click Refresh to check the status.
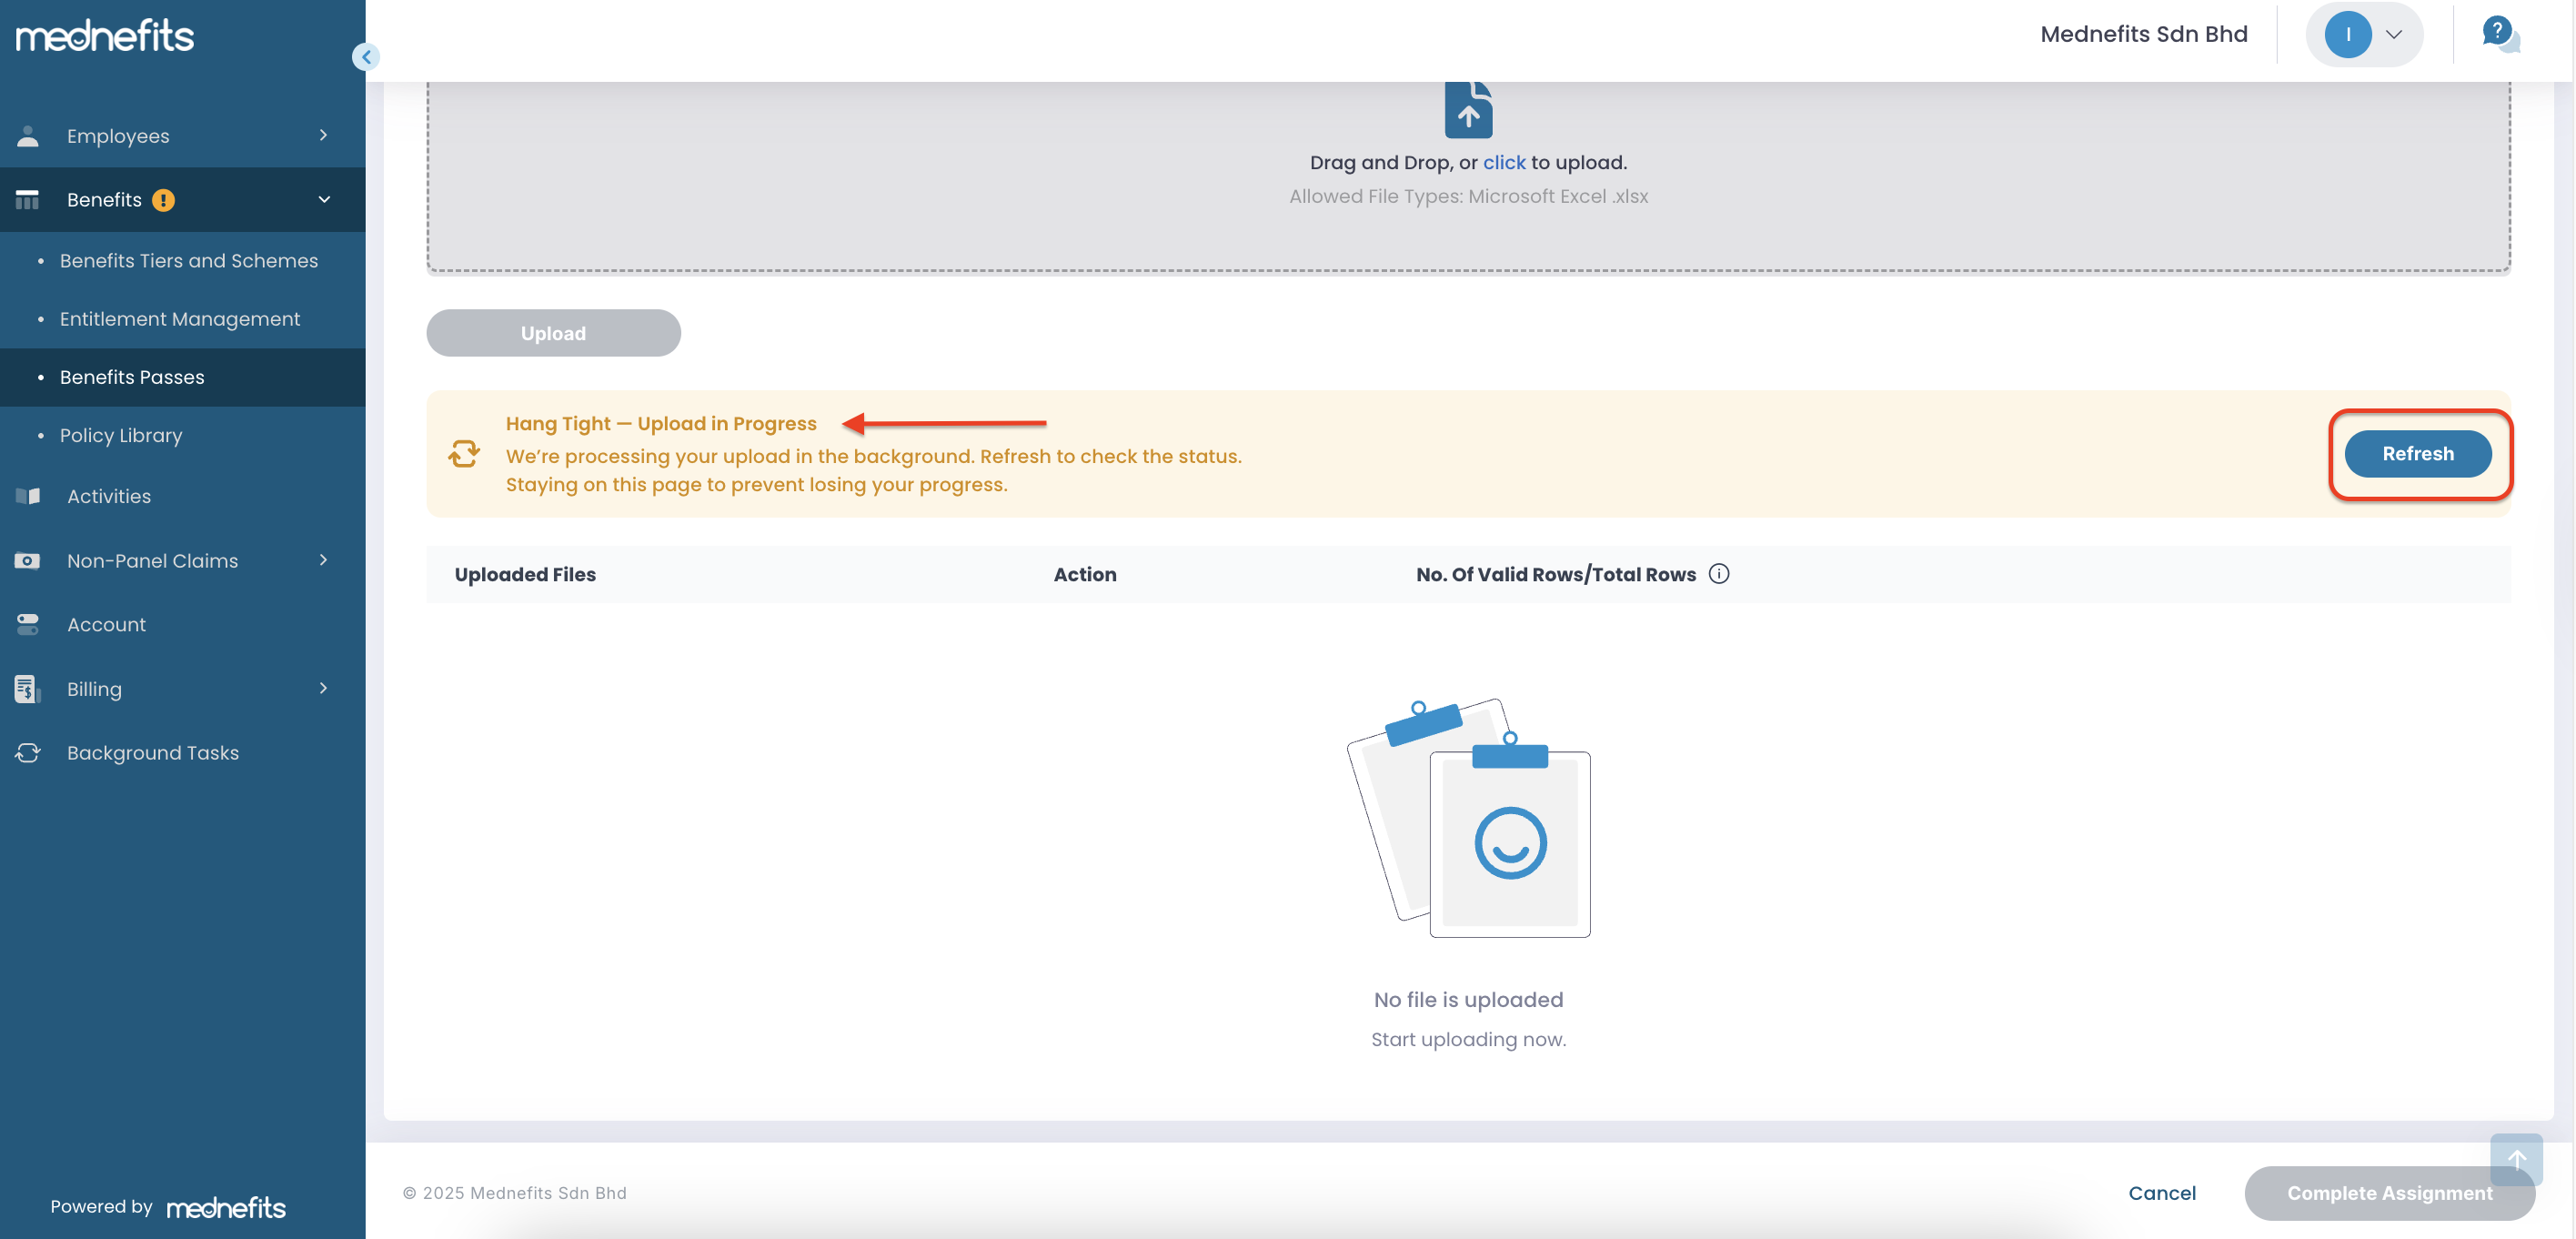
Step 6: Click "Complete Assignment" after the upload is complete.
Step 7: You will be directed to the Background Tasks page.


- Click Refresh to get the latest updates.
- Click View Page to navigate to the Benefits Passes Overview table and verify if the assignments were successful.
If you need to edit any existing Benefits Passes, please visit this helpdesk article: How to Modify Existing Benefits Passes

