
 587
587
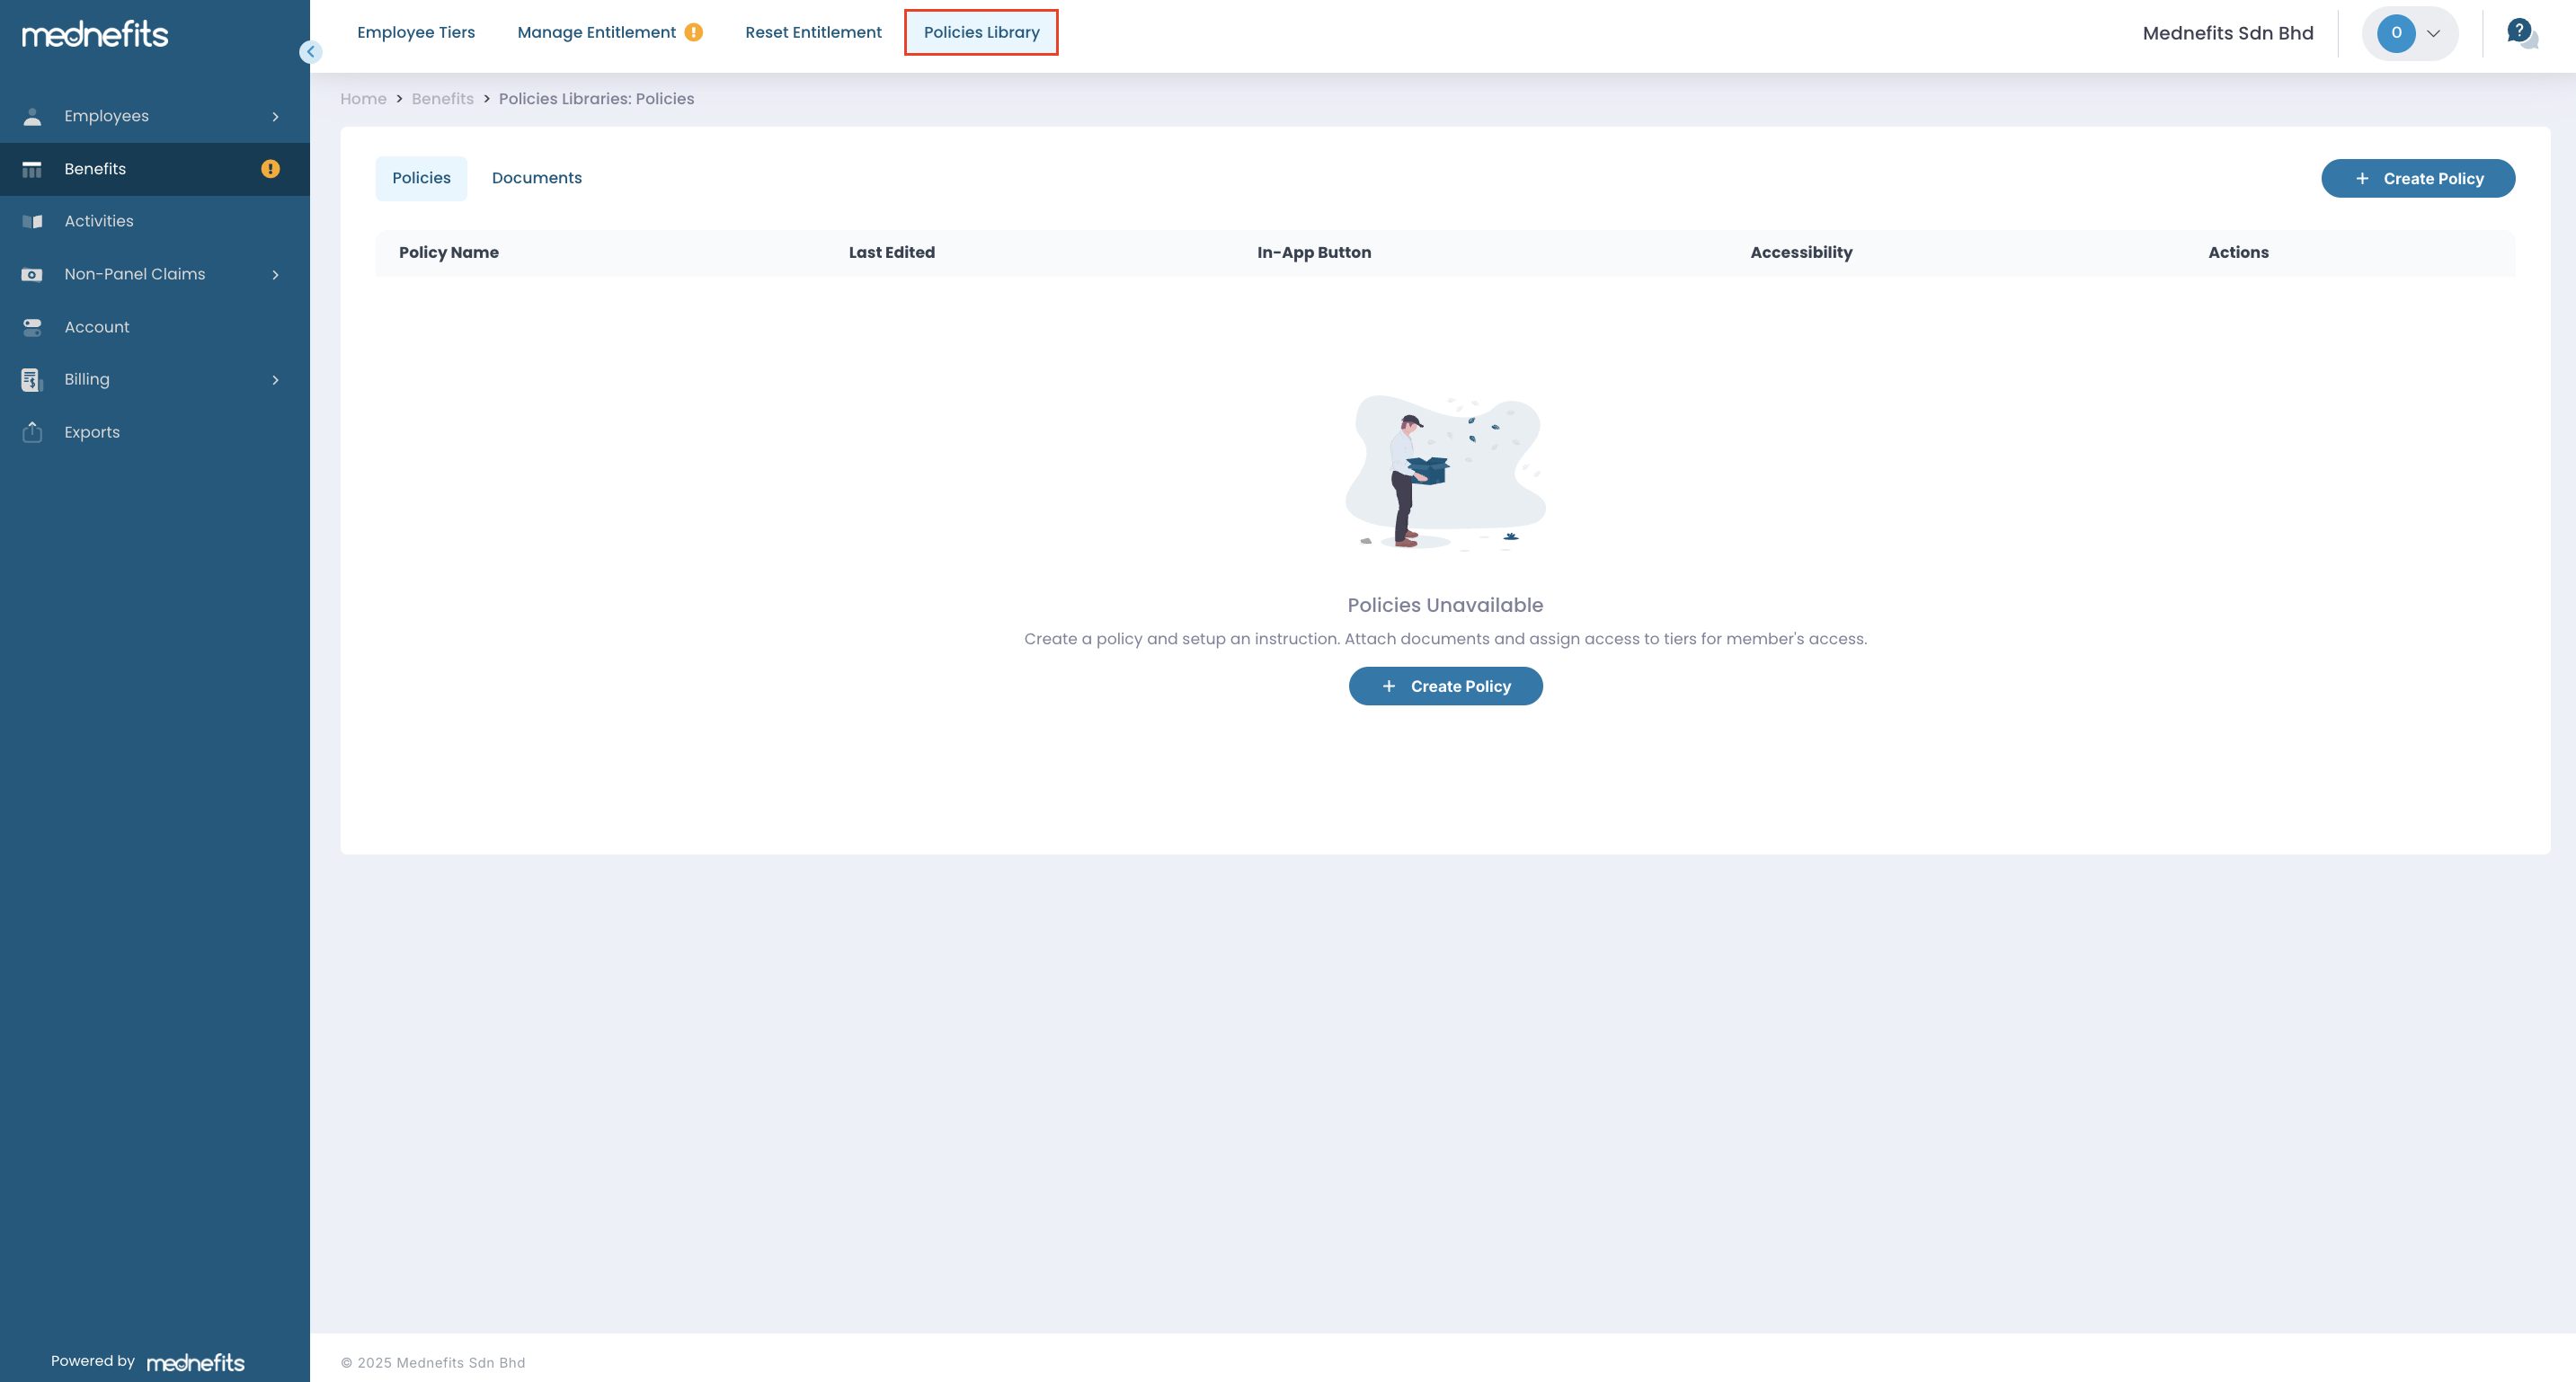
Once the Policy (in-patient) Display Feature has been enabled, you will be able to access the feature by accessing the Benefits page.
Within the Benefits page, the following new features will be enabled:
-
Policies Library Tab
-
You can configure and display insurance in-patient policies within the portal for the respective tiers and members
-
-
Policies Tab
-
You may view the configured insurance in-patient policies assigned to each of the respective tier(s).
-
Please follow the guidelines below to create and assign a policy:
Step 1: Navigate to Benefits > Policies Library page.
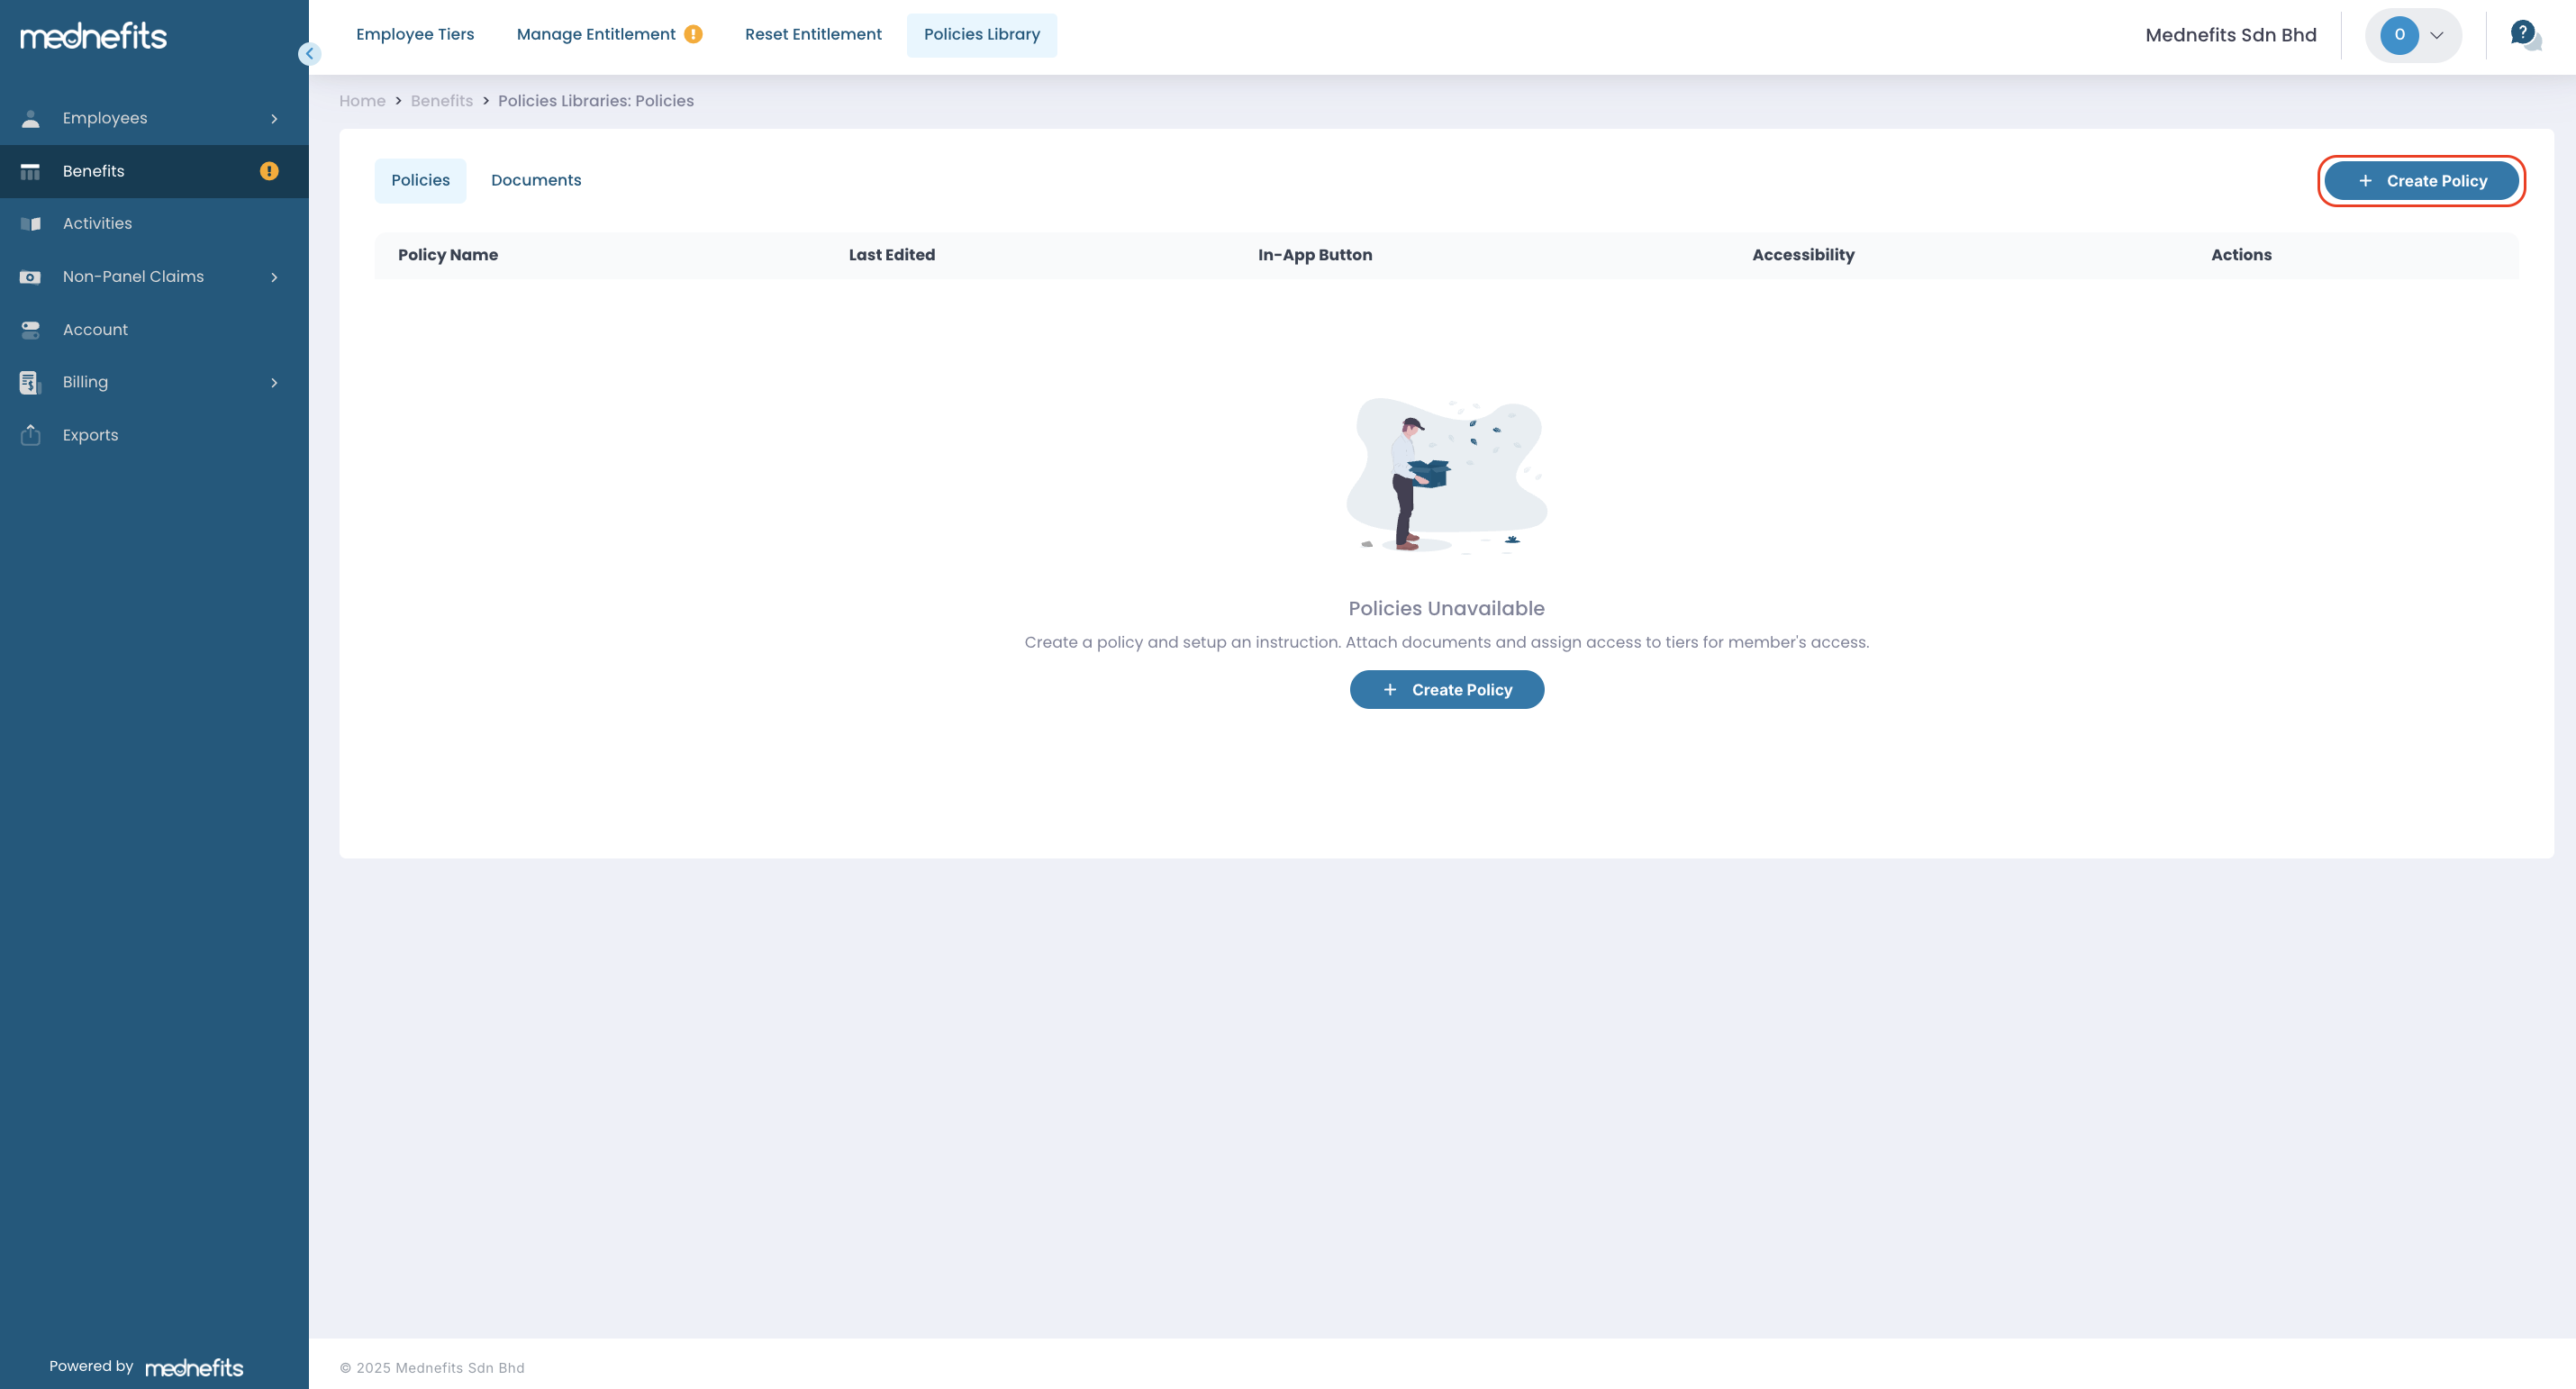
Step 2: You may set-up a policy by clicking Create Policy.
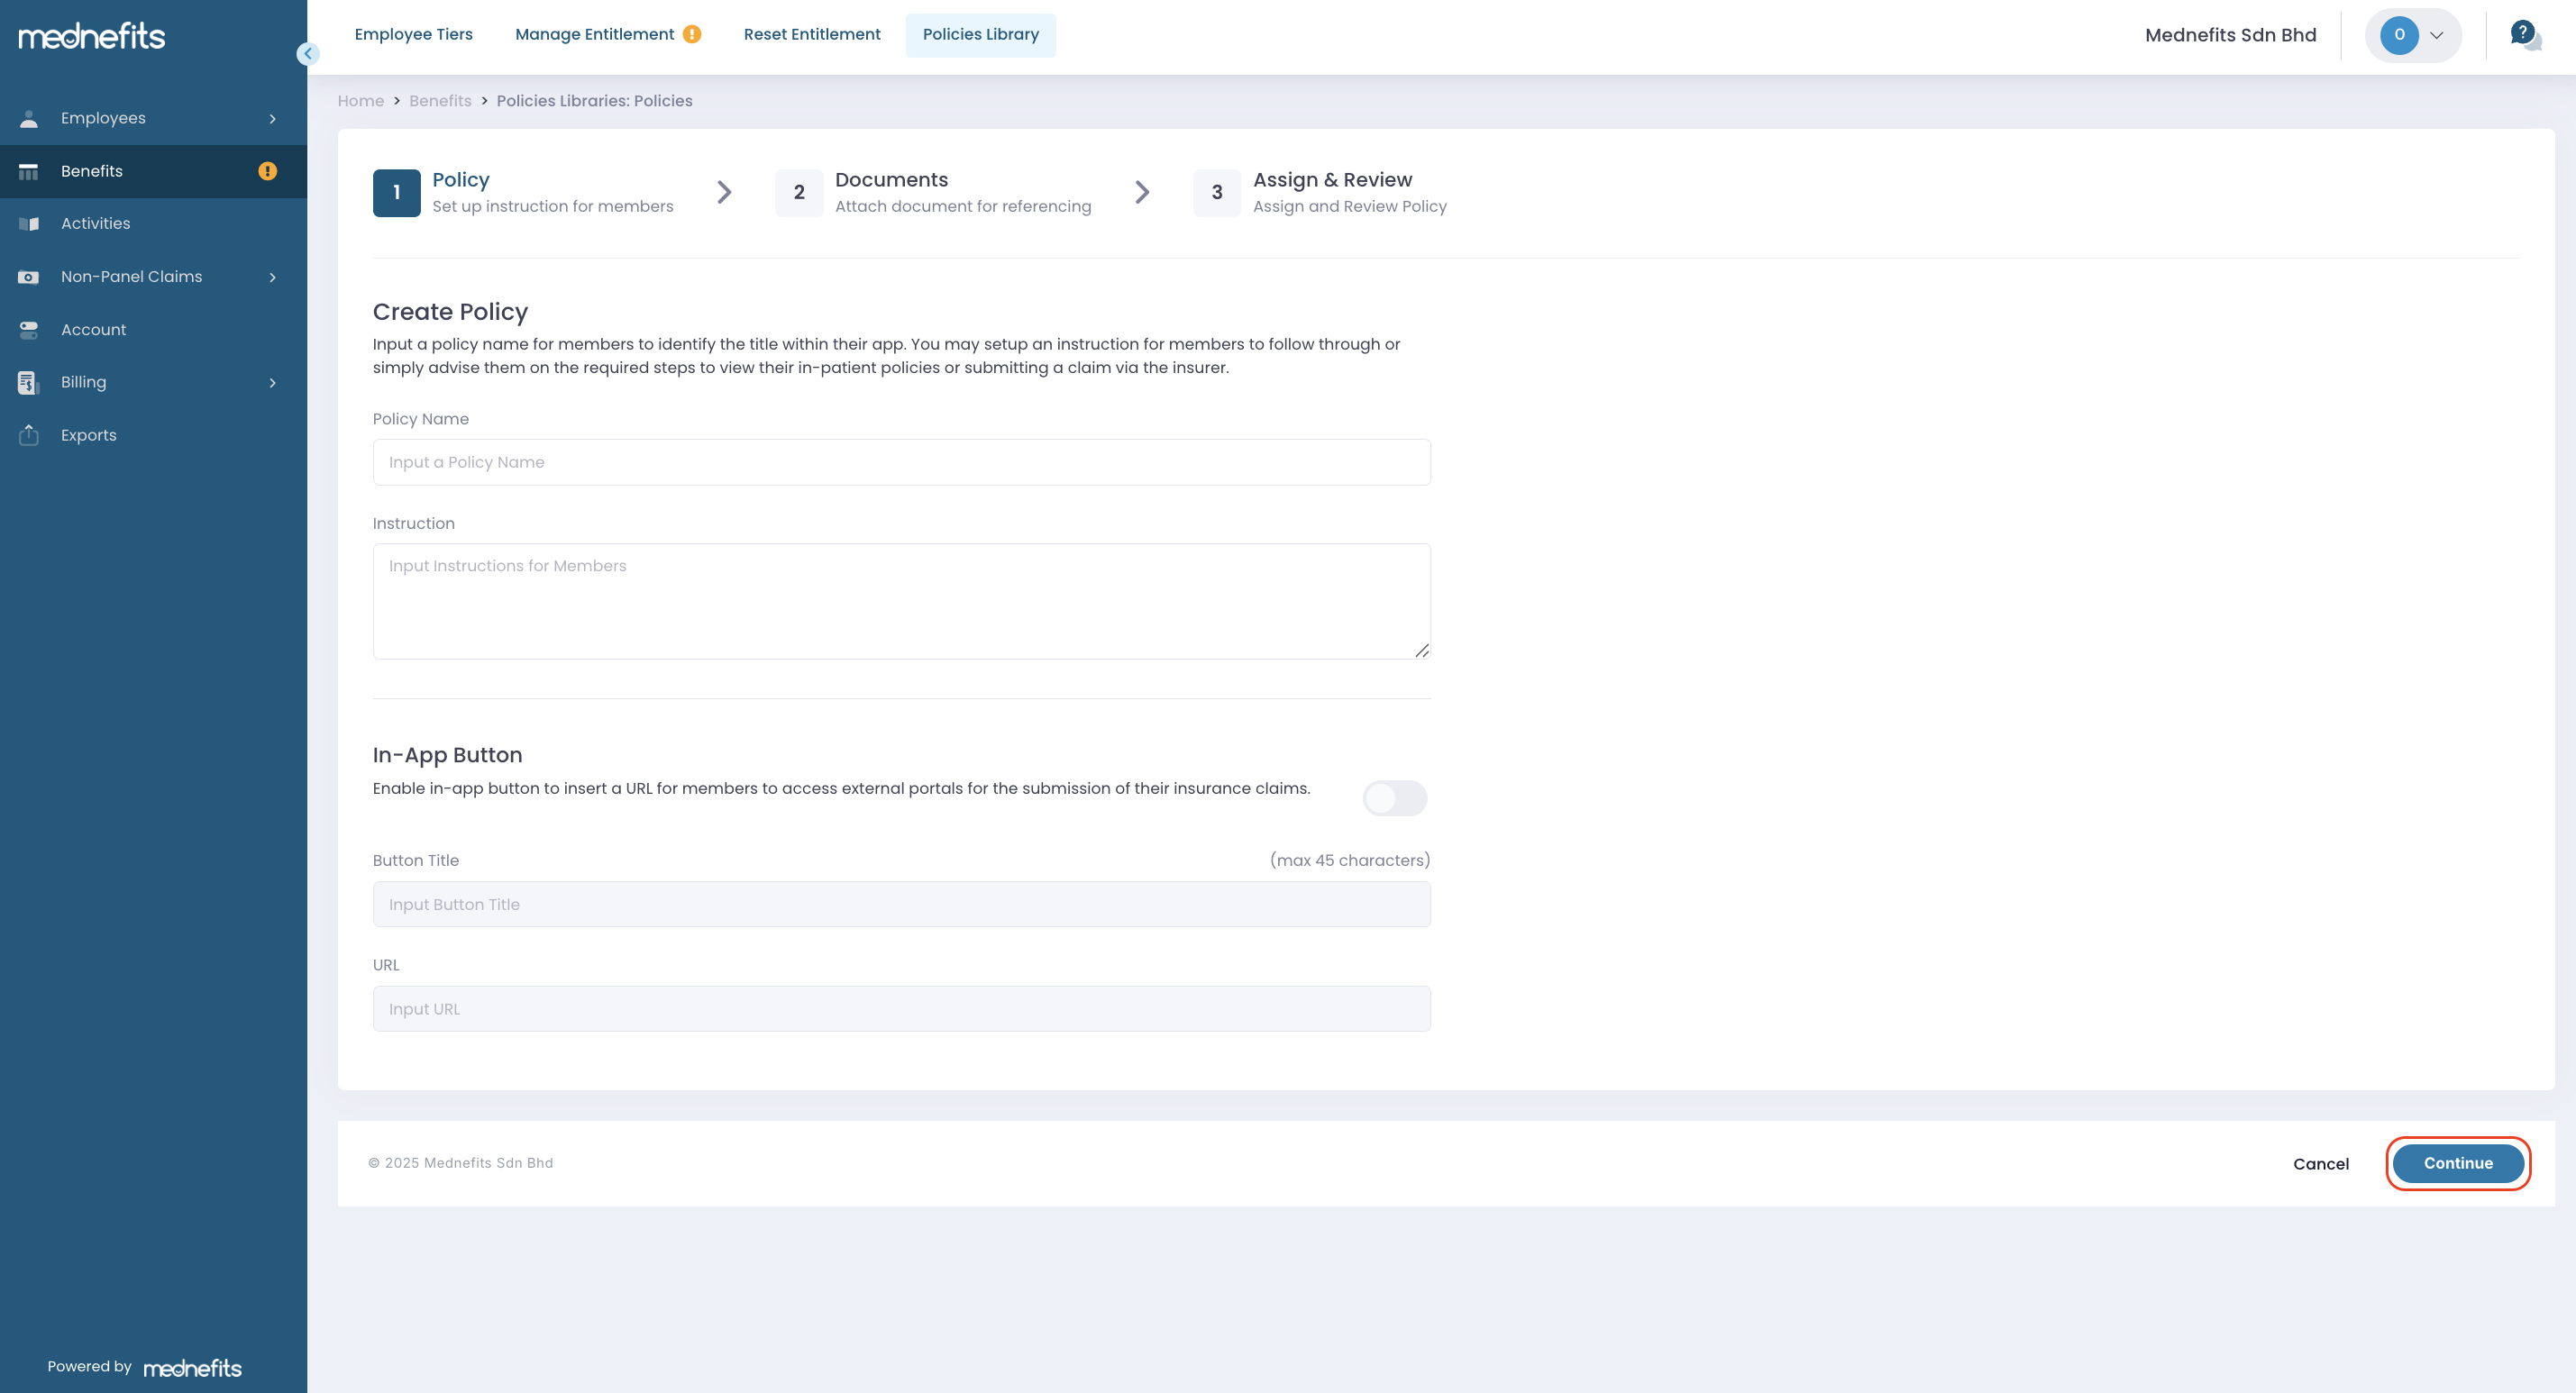
Step 3: Please complete the following fields and click Continue to create a policy.
Optional: You may enable the In-App button for employees and/or dependents to access any external URL, such as the Insurance Claims portal (if any).
Step 4: Next, you may upload documents or select from an existing list of documents to enable members to reference their coverage when needed via their Mednefits app or portal.
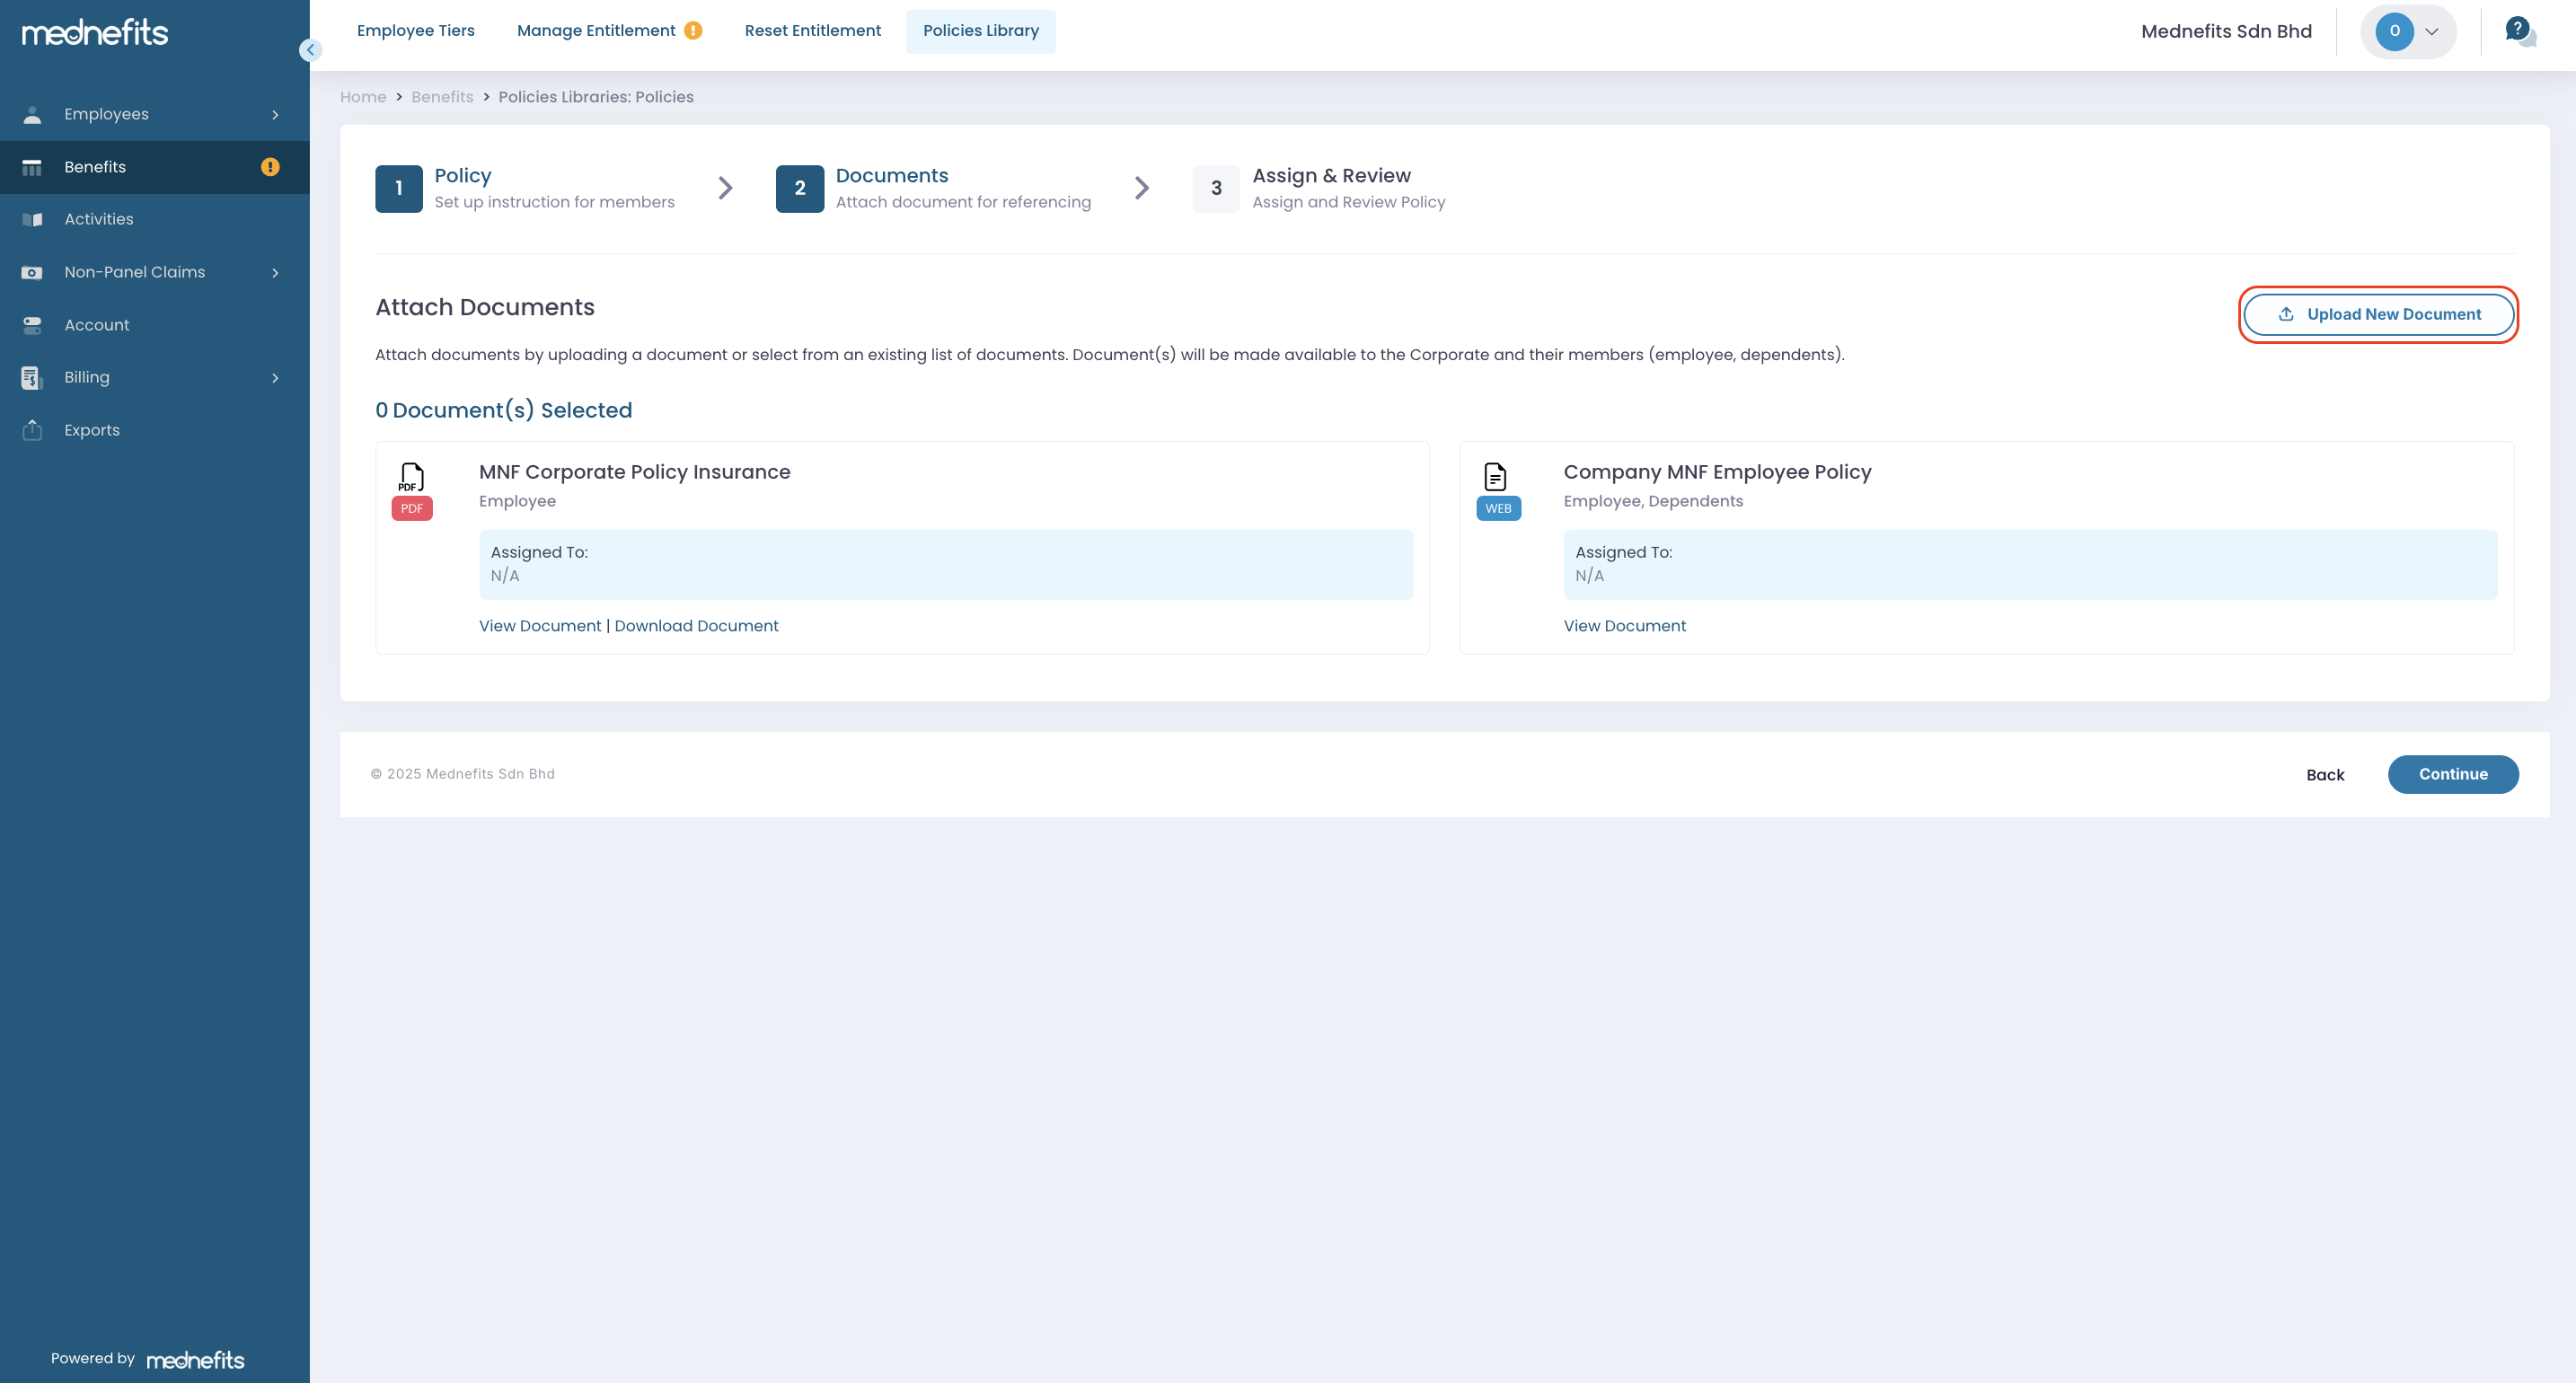
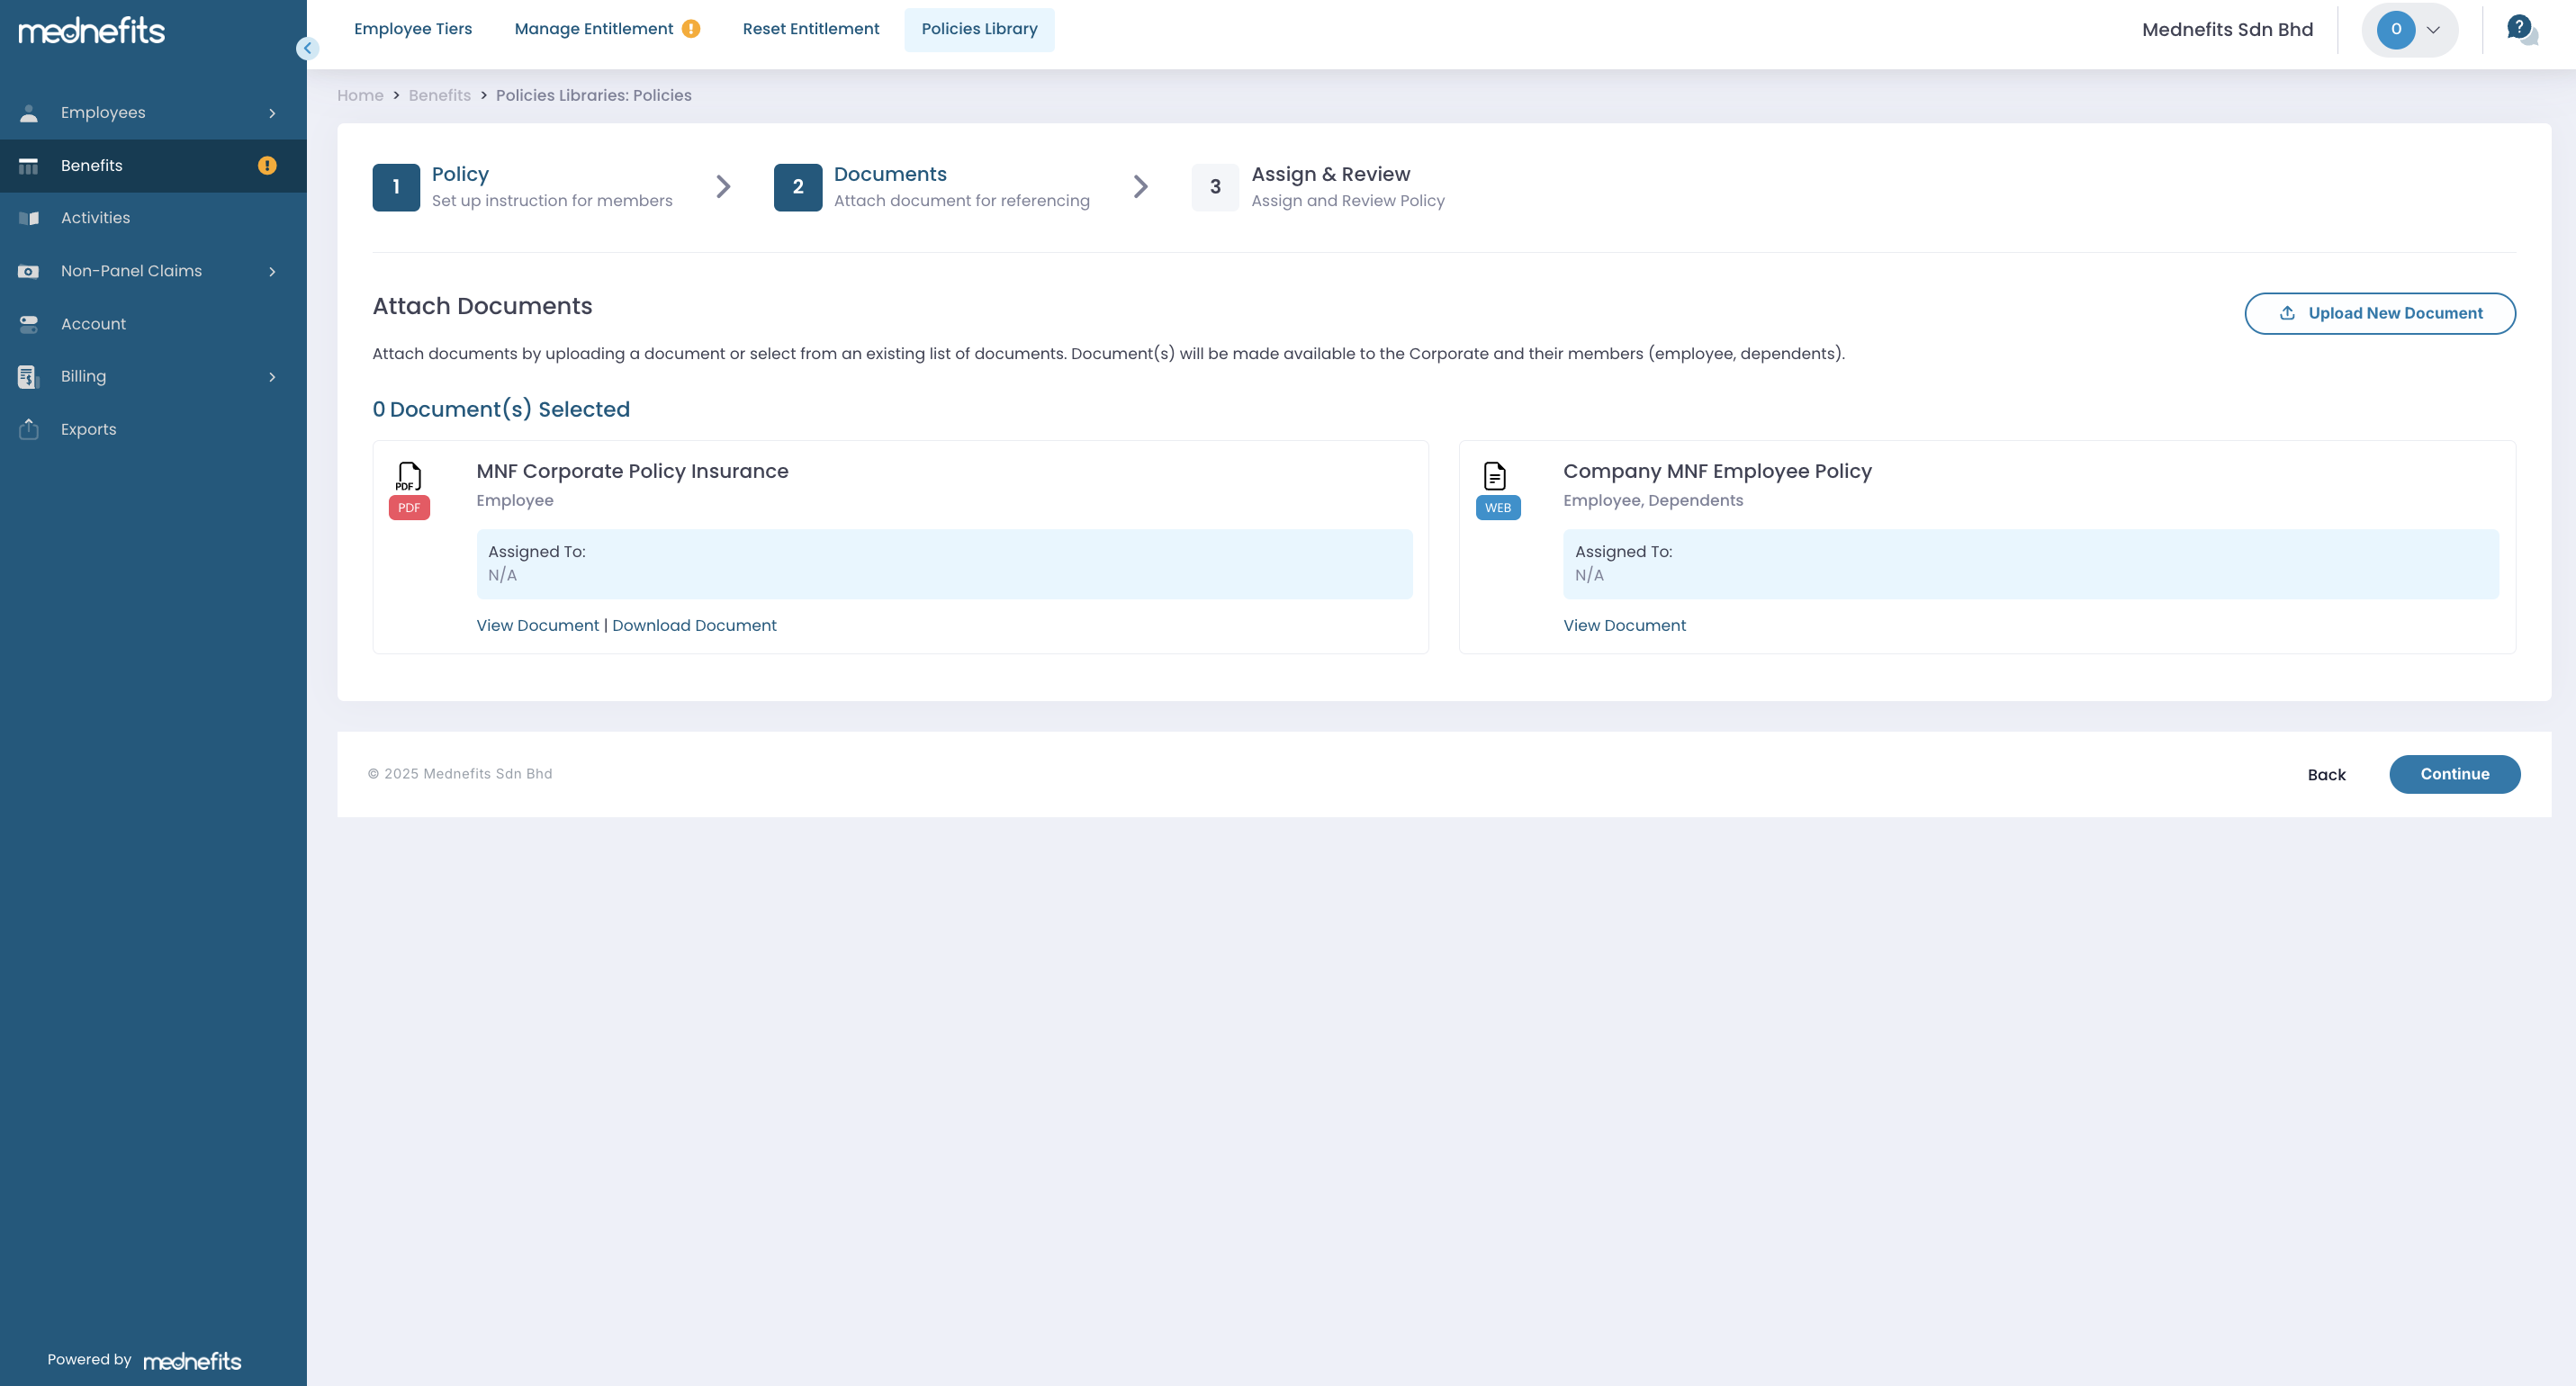
Step 5: If you select Upload New Document, a pop-up box will appear and you will be prompted to choose the type of document to be uploaded; PDF Document or Web Document (URL).


After choosing the type of document, you will be required to follow the instructions as below:
- Upload Widget
- You will be prompted to upload a PDF document or provide a URL to an external source.
- File name (required)
- To indicate a known name of the document for members reference. This field is automatically filled upon uploading the document, but can still be modified to fit the relevancy of the members use of the document.
- Document No. (optional)
- To designate an internal reference number for the document.
- Policy Coverage (either Employee or Dependent, or both that may be relevant)
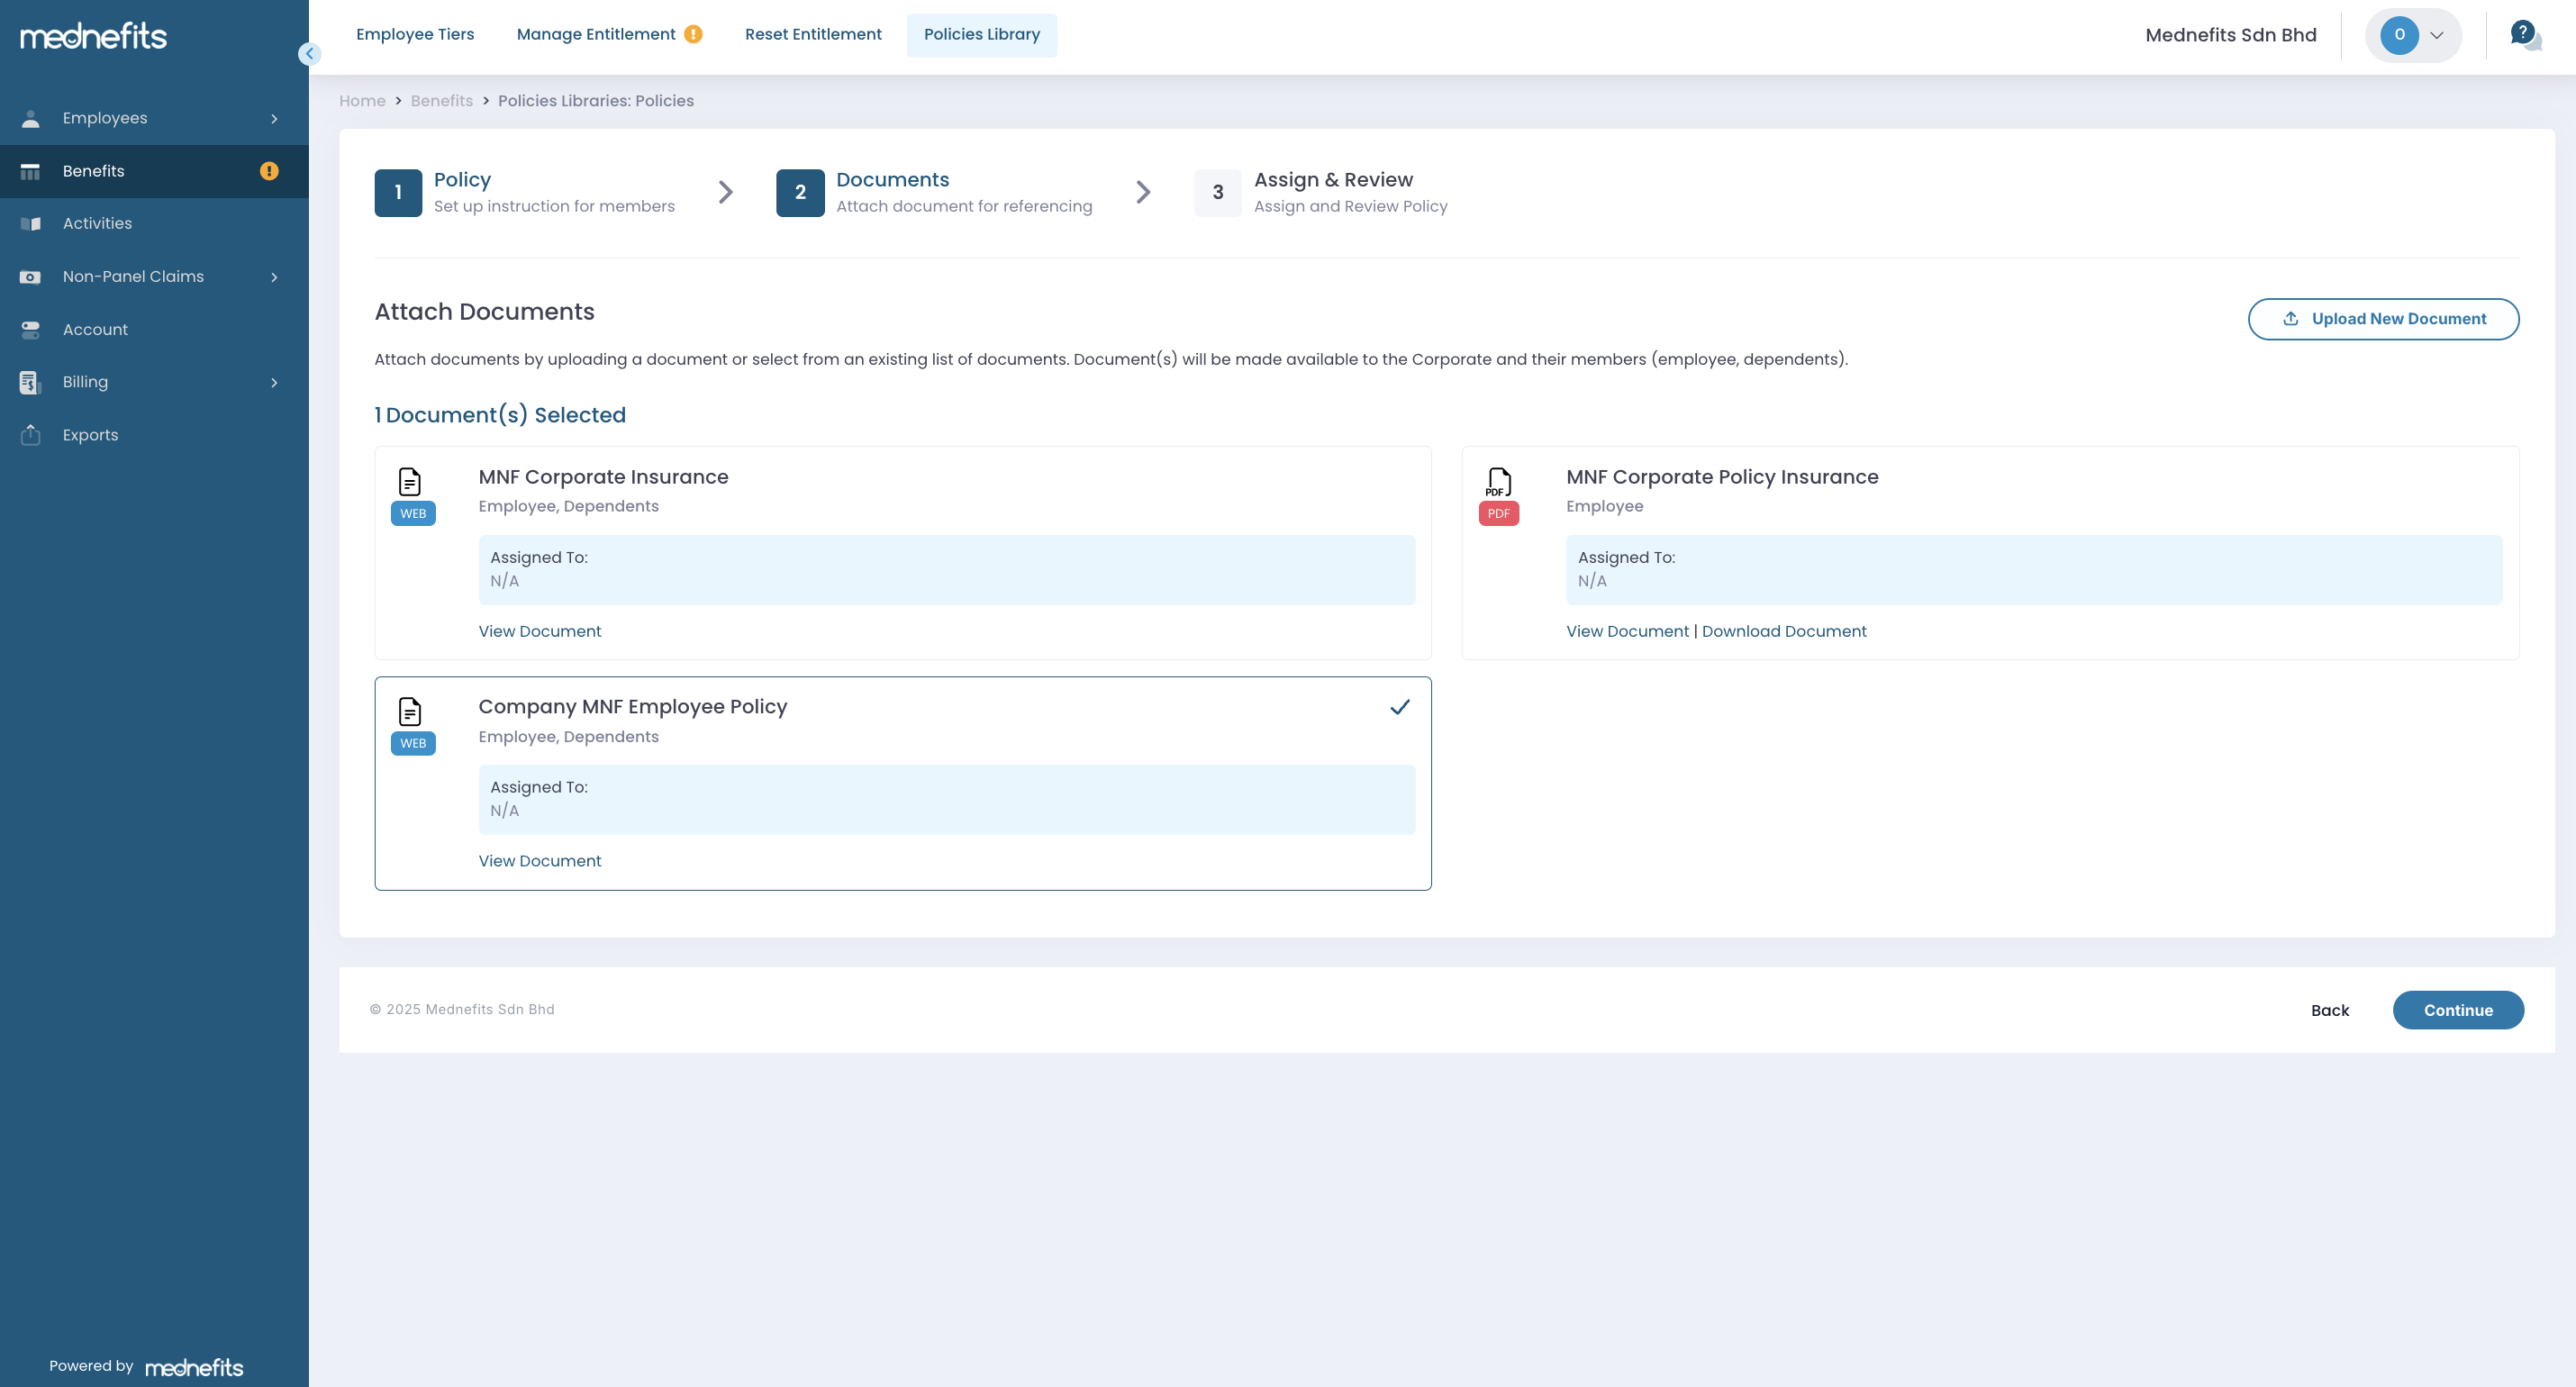
Once you have clicked Confirm, you will be able to view and select the relevant document(s).
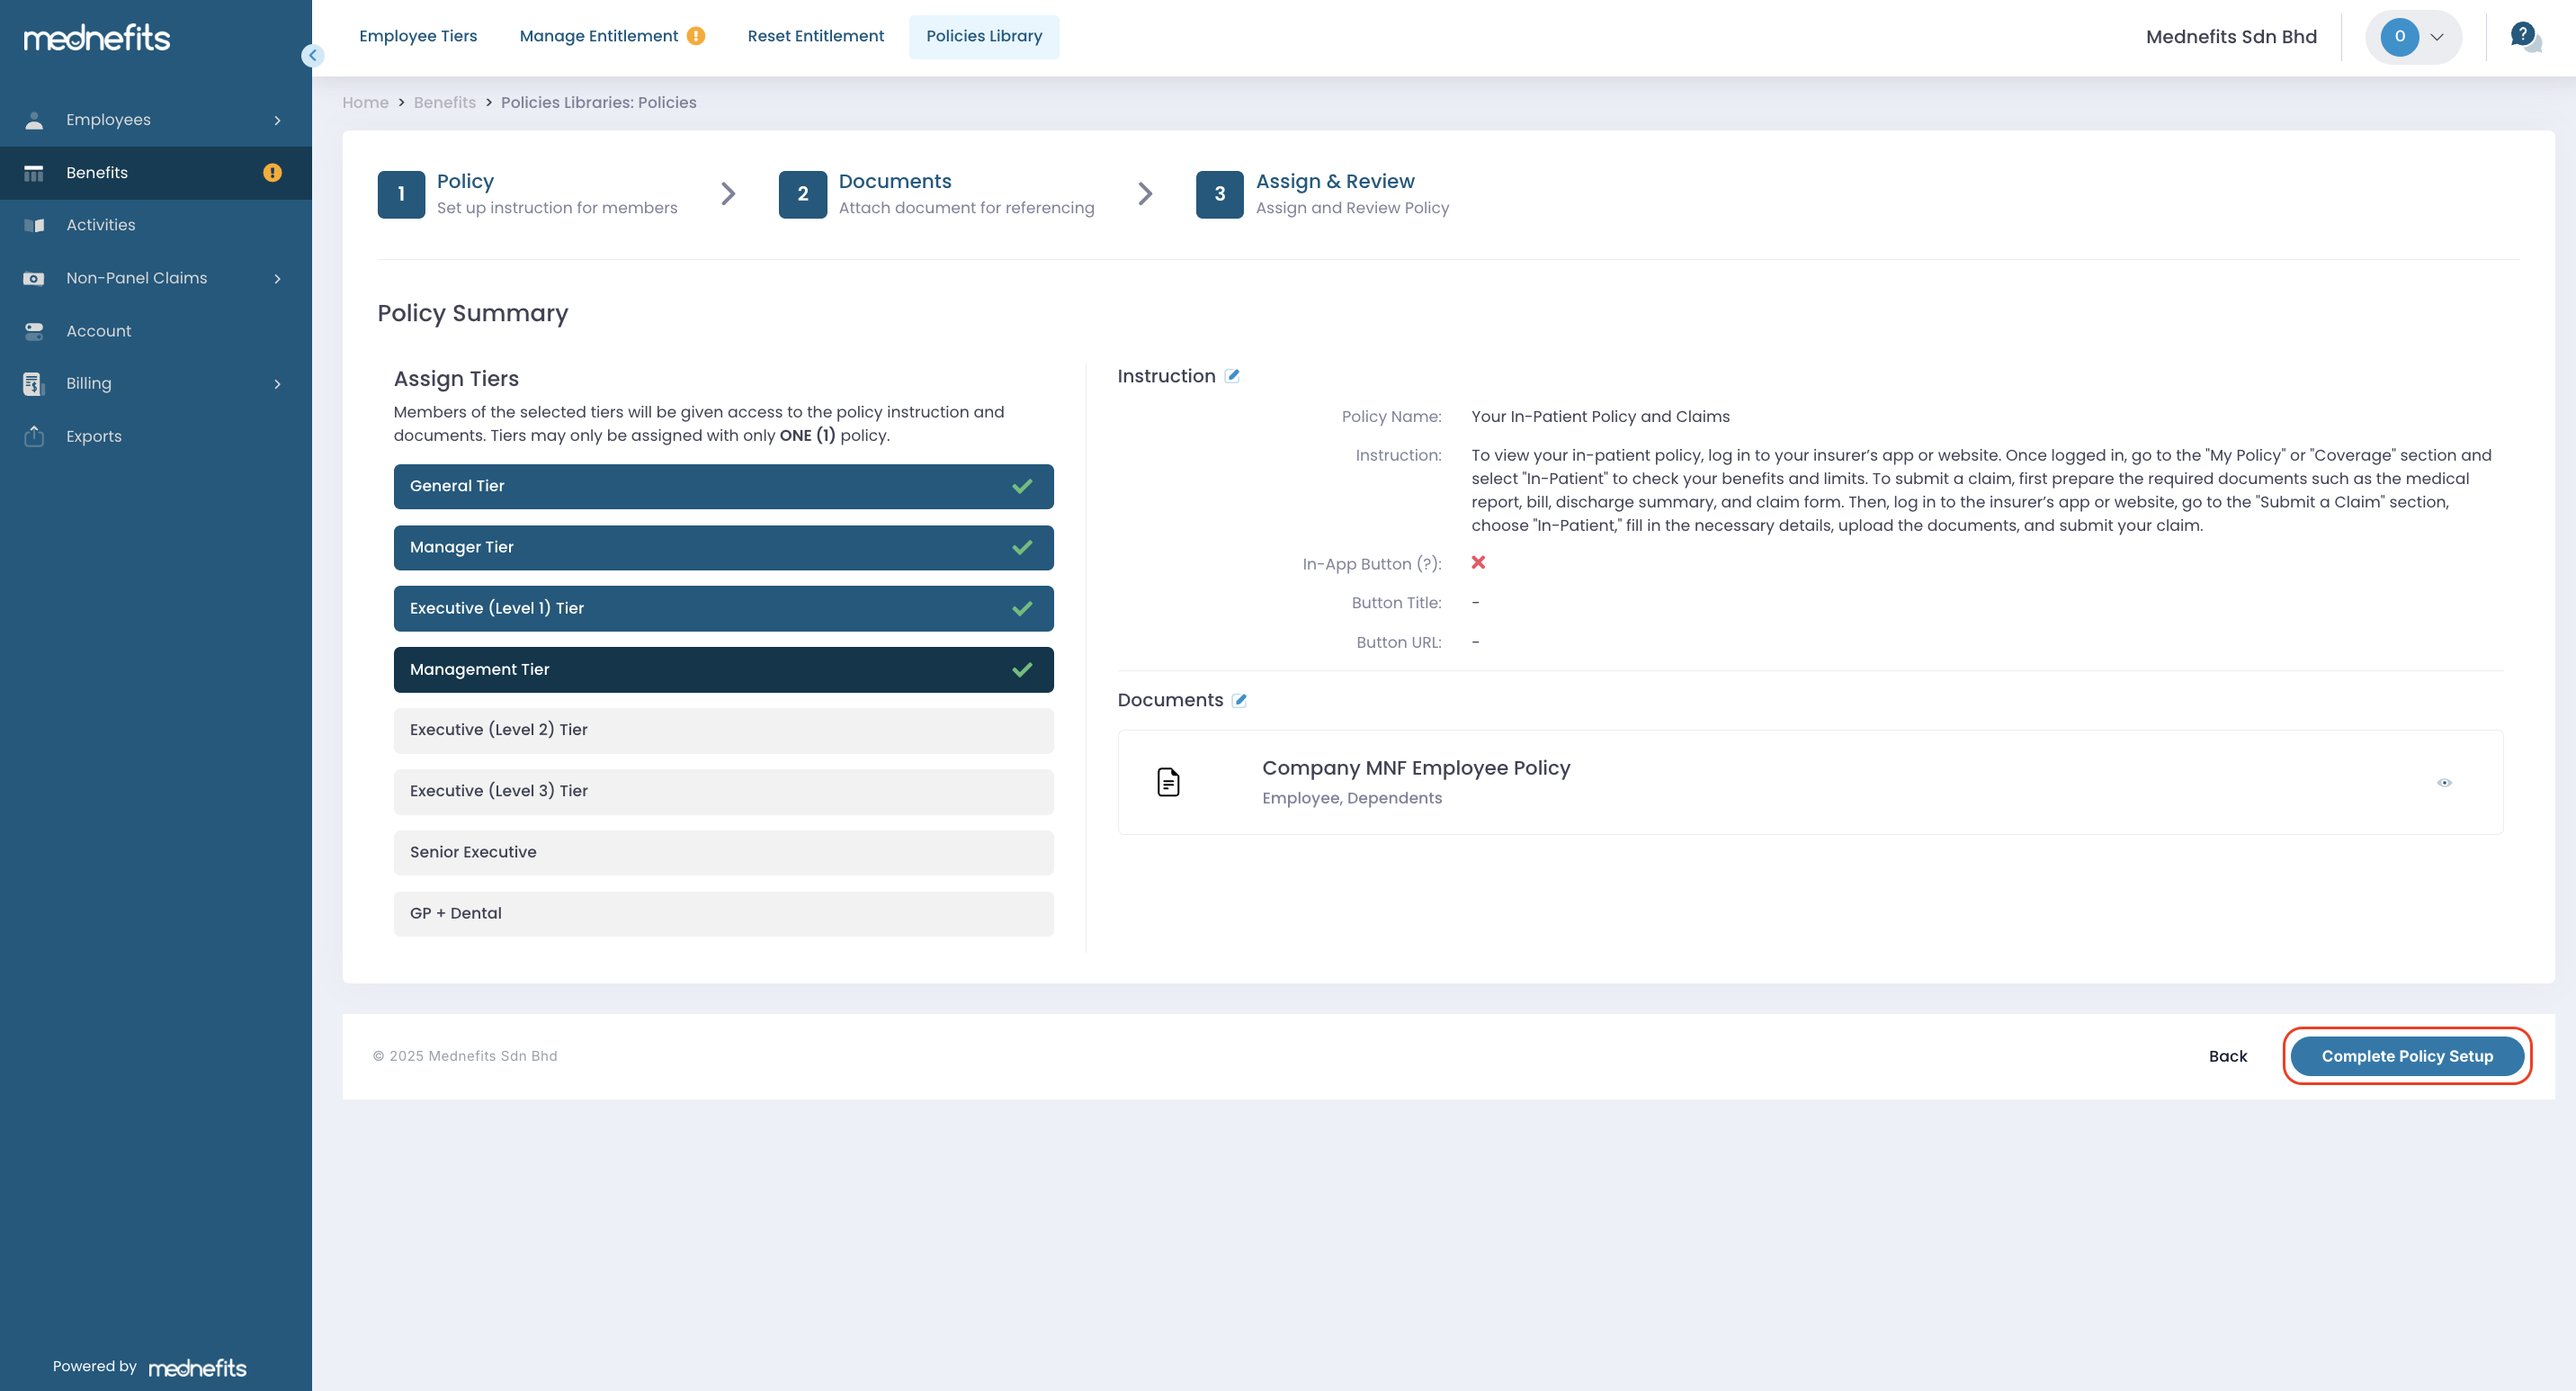
Step 6: Then continue to assign the policy to the existing tiers. Please be reminded that you may assign only ONE (1) policy to each tier.
Notes: Tiers with an existing policy assigned will be disabled for assignment. To assign another policy to these tiers, unassign the tier from its existing policy and assign the new policy.
On this page, it is strongly encouraged to review the policy information and that the policy be assigned to the relevant tier(s). Once all details are accurate, you may click Complete Policy Setup to proceed.
Step 2: A green banner will pop up to indicate a successful policy (in-patient) creation.
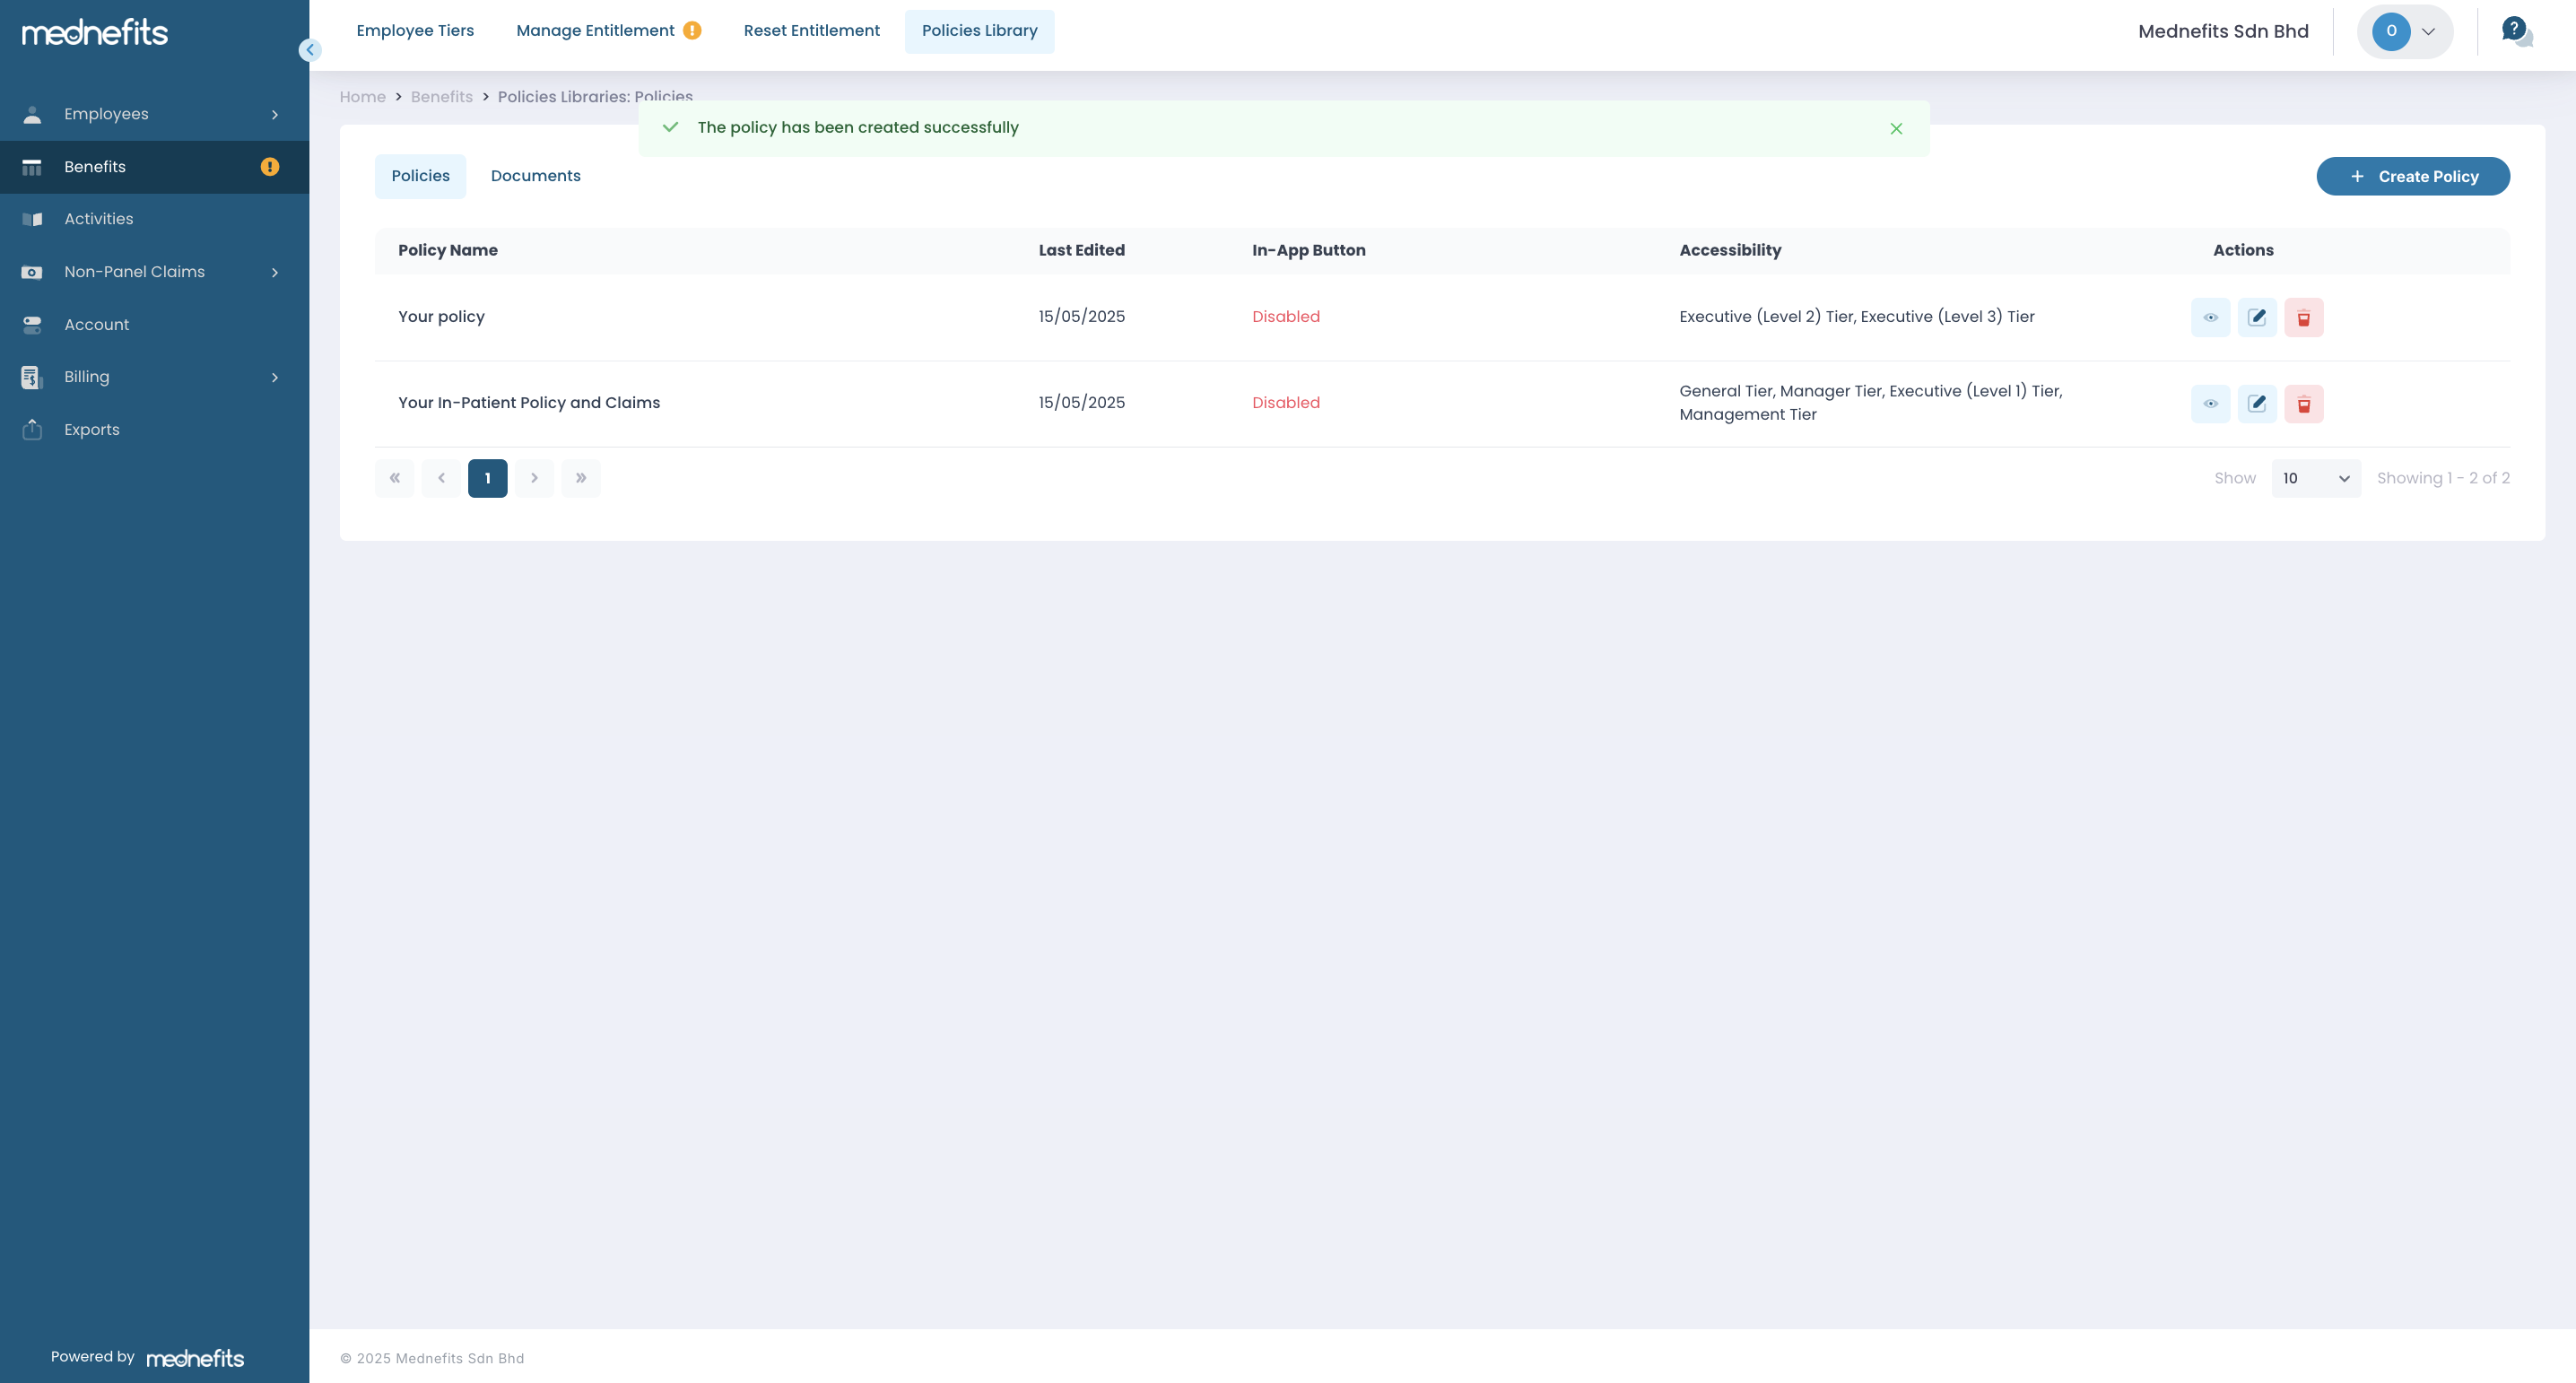
Members of the assigned tier(s) will now be able to view their policy (in-patient) via their Mednefits app or portal.

