1695
1695
If your company requires more than one administrator to manage employee benefits within the Mednefits Company HR Portal, you may refer to this guide to learn more about how to add an administrator.
Step 1: Go to Accounts > Admin Settings and click + Add Admin.

❗If you are not able to locate this page on your HR Portal, it is most likely that your Primary Admin does not enable <View Admin> permission for you. Contact your Primary Admin if you should have permission to view the administrator in your corporate account.
Step 2: Fill in the basic information of the additional administrator and click Continue.

An activation email will be sent out to the email address registered for the new admin.
Step 3: On Permission Setup, you can select a permission template for the relevant permissions to be auto-populated. You can further edit the populated permissions to determine which actions and information this admin is permitted to perform.

Template permissions that are named after certain admin permission, like Billing Admin or Claim Admin, are also available now. You can simply choose the responsibility of your team member to automatically populate the permissions!
Step 4: Review and confirm the details of the administrator and permissions, then click Complete.


A notification will show to indicate "Admin has been added". You can select Proceed to Auto Assign to assign this admin as the claim approver or Set Up Later in Claim Settings.
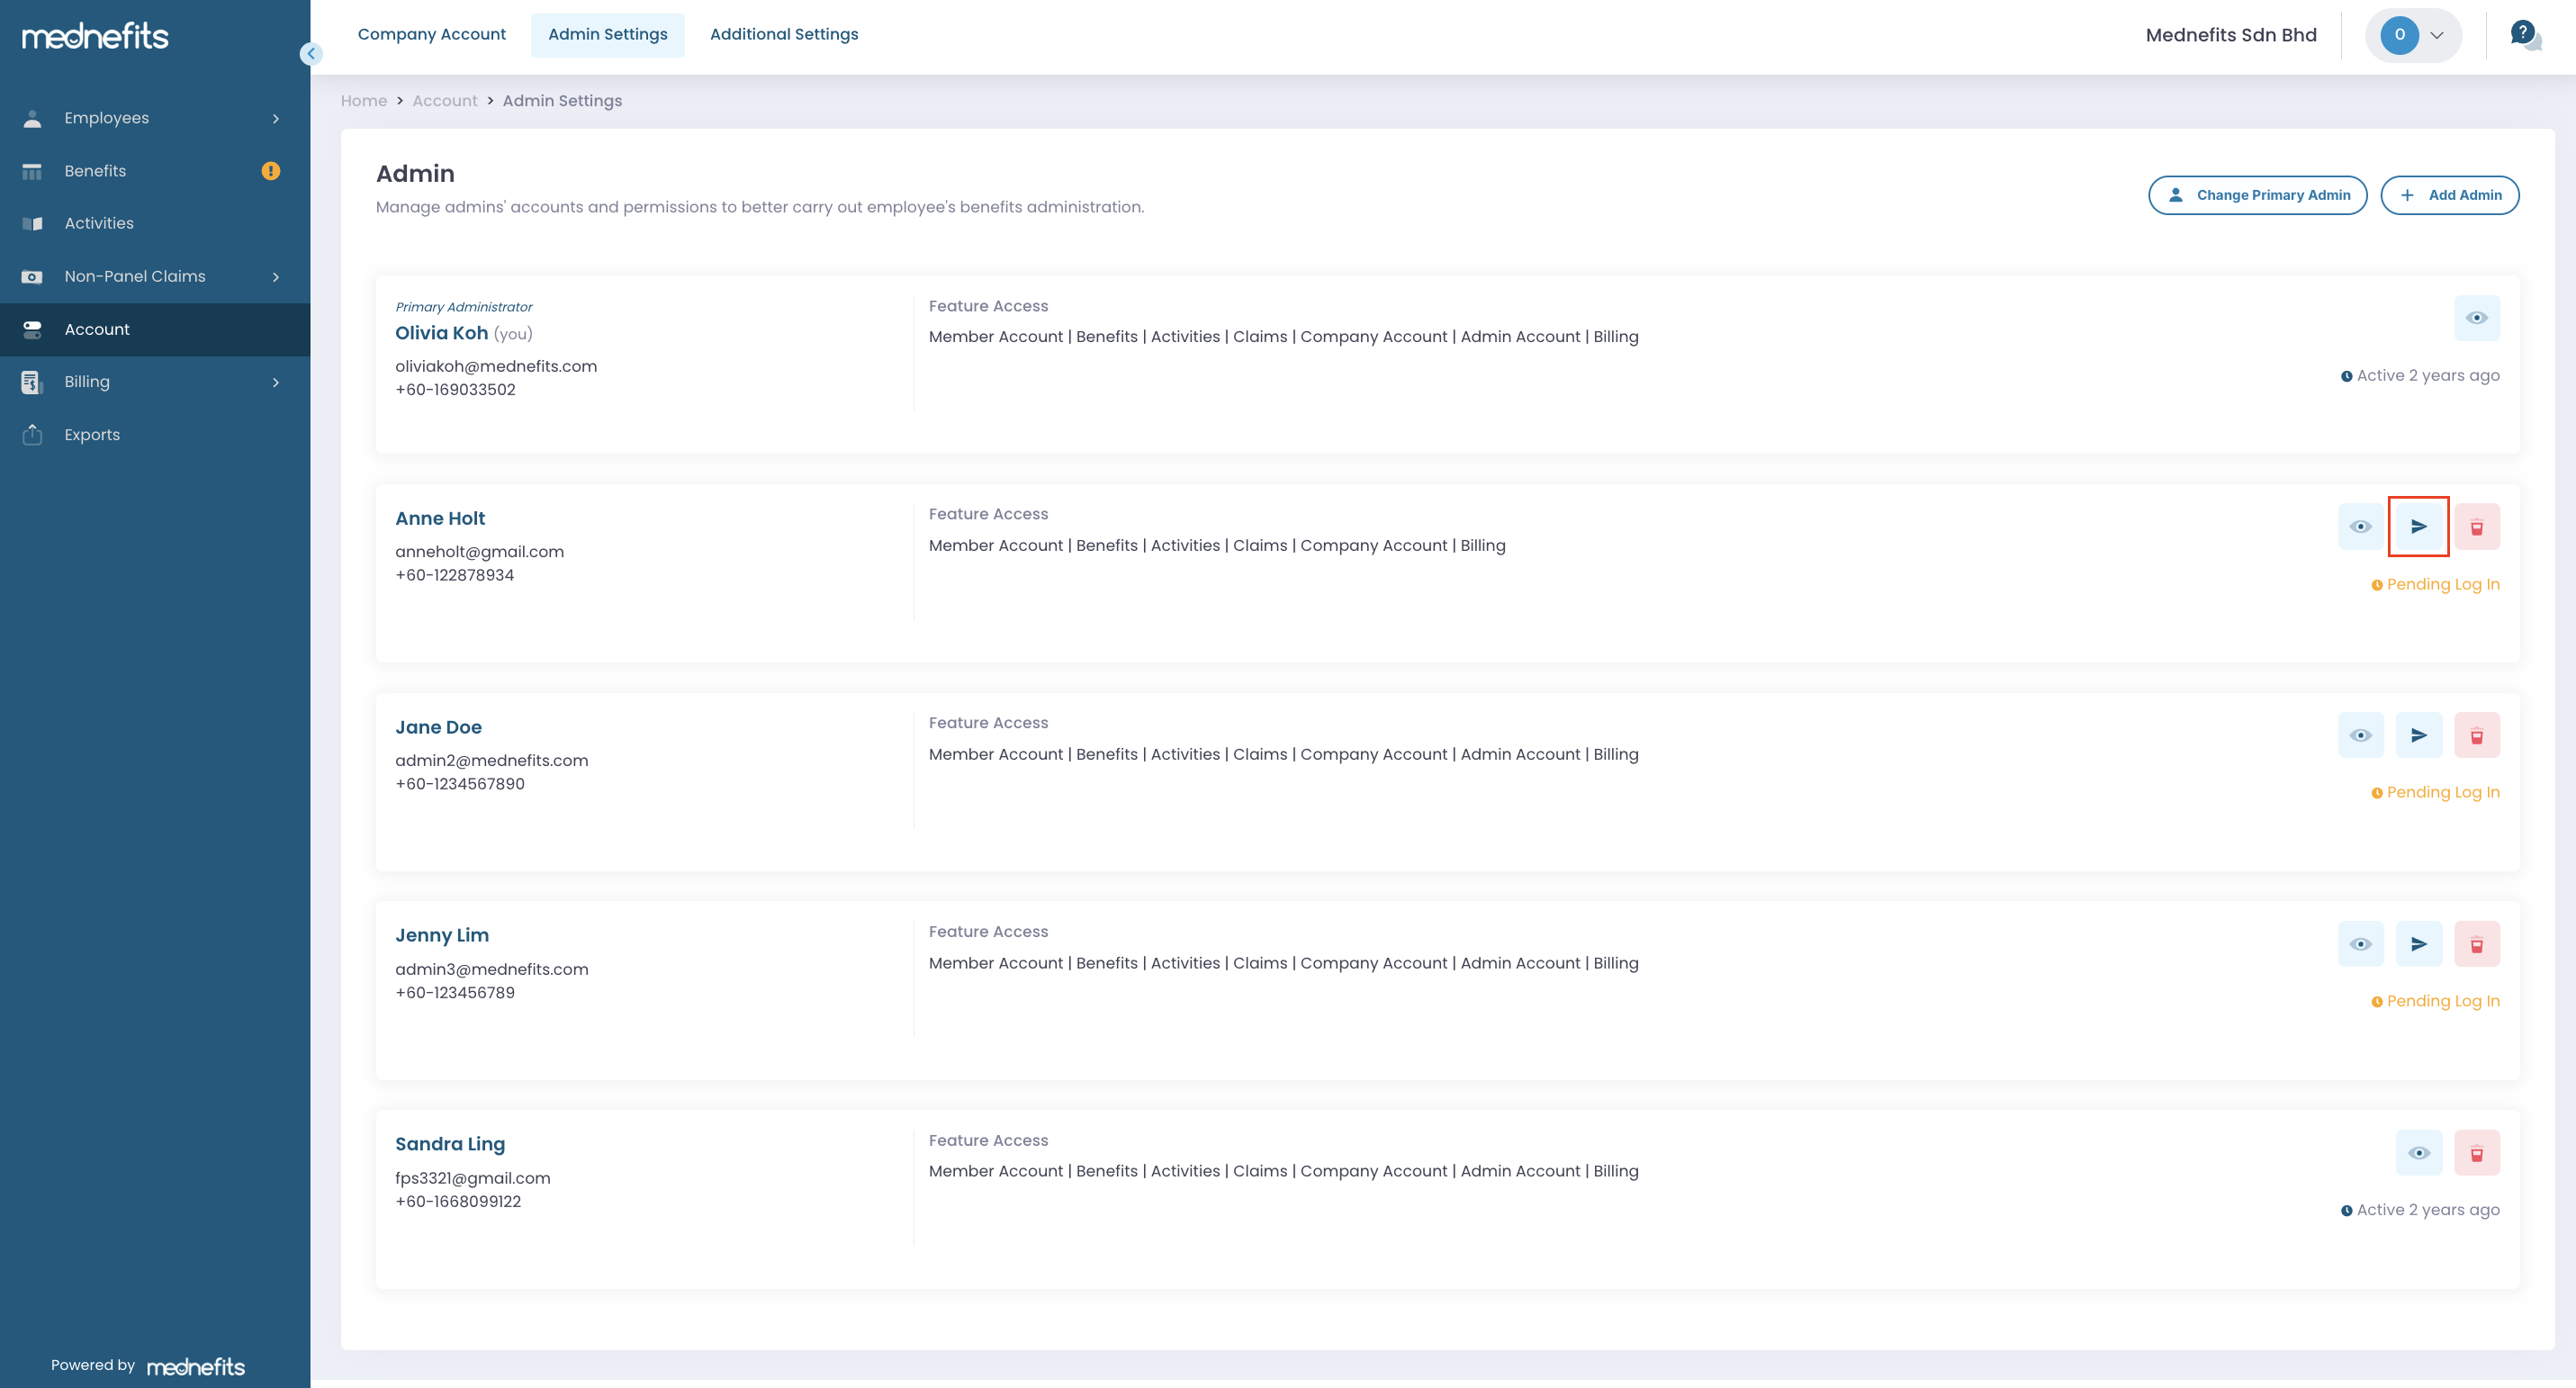
Resend Activation Email to additional administrator!
If any admin’s account is still with Pending Log In, you can resend an activation email as a reminder.
On the Admin Settings page, simply click the icon to resend the activation email. This will allow the admin to activate their access to the HR Portal.